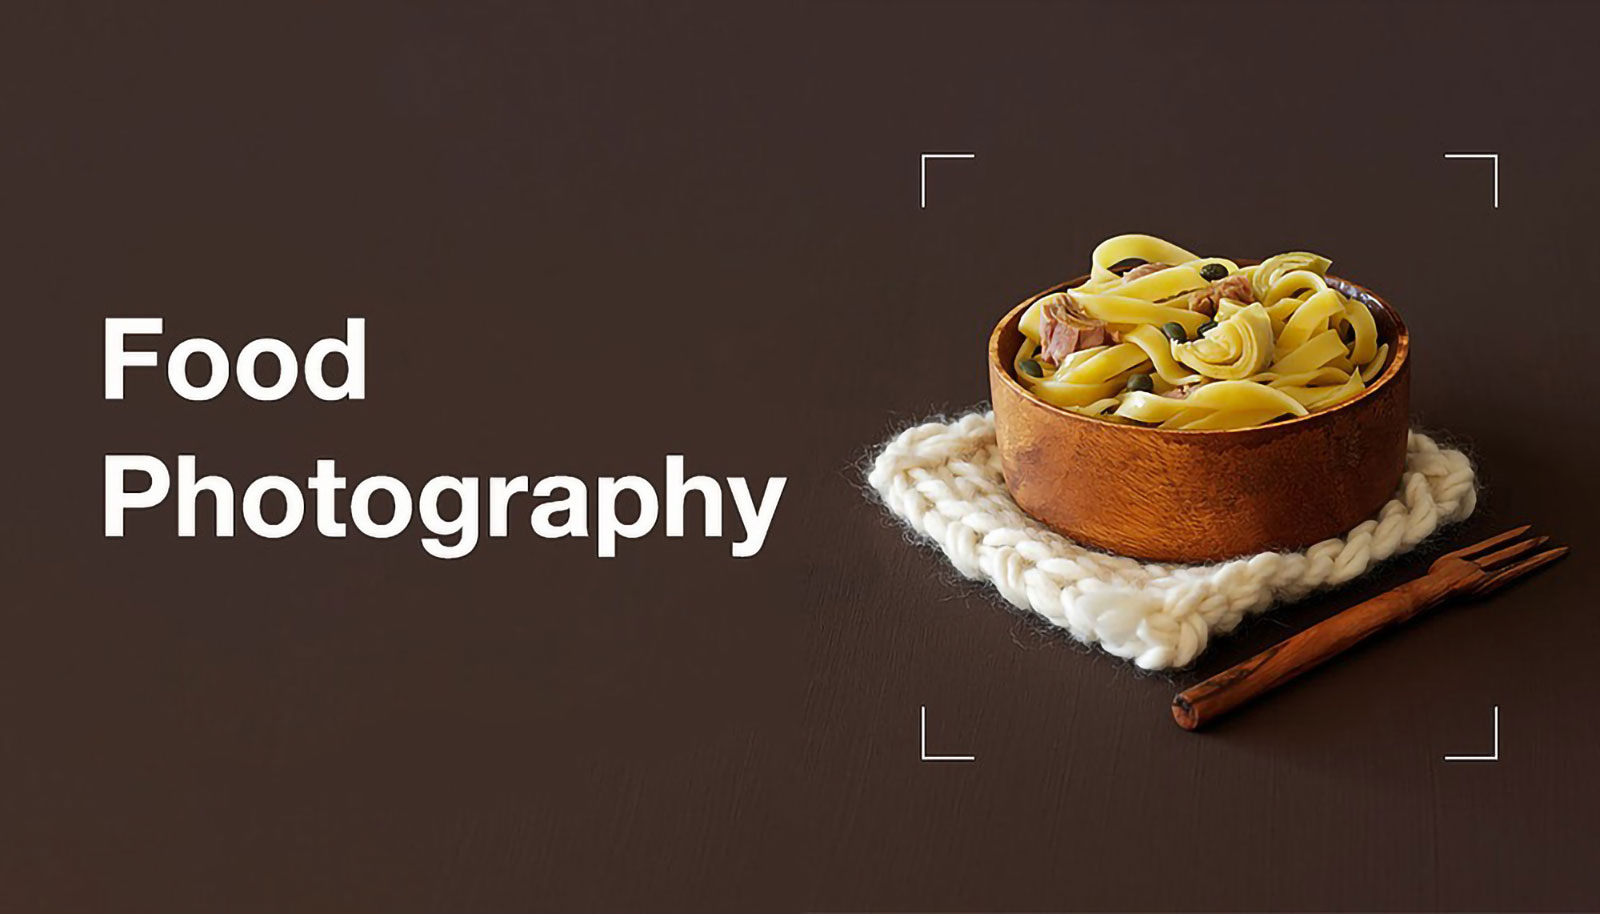
Food photography is not easy that it seems. Just shooting the food & uploading it on social media is not food photography. Instead, it is a challenging photography area, and you should maintain many things while doing it.
It is like art & everything in the photo is a decision that you imagined. Each photo contains perfectly balanced food parts that are set by the photographer. It is also telling stories about foods. In this article, I will tell you about which things you should consider to make a delicious food story. Here you will explore simple techniques and creative ideas for shooting fantastic food photos.
Essential Gear for Food Photography
Without the necessary equipment, it will be tough for you to shooting. But you need to ensure that you have the best quality gear.
You can use many types of equipment for your use & depending on your budget. But I will tell you about the most needed gear.
Camera
You will need a proper camera, not a fancy and expensive one. With a point-and-shoot camera, you can also take appealing food photos. In that case, you have to follow proper rules & tips.
Use a DSLR camera if you have full control over your exposure and focal length. In this case, you can use a Nikon Z6, which is great for food photography. Photographers often feel confused choosing between a Nikon or Canon. The differences between these two are the same. If you prefer Canon, then the Canon Eos R6 model would be the best.
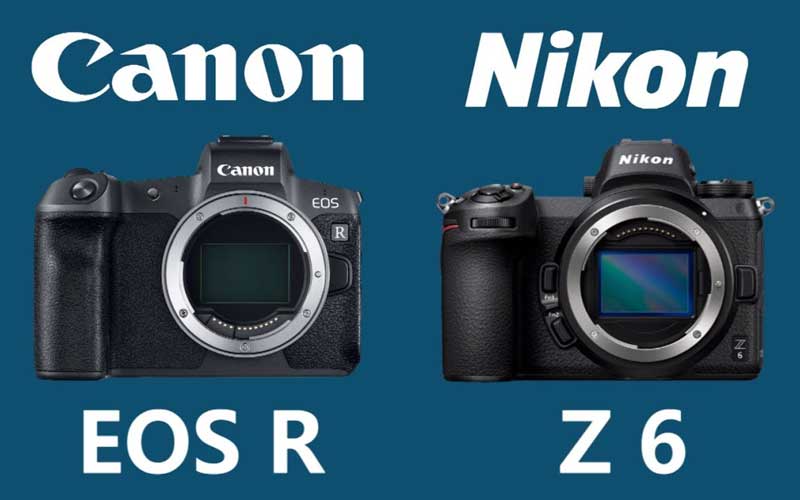
For comparable photo quality, you may consider comparable camera models. So, buy a good camera in your price range. You can check our best camera for photography guide for choosing a good camera.
Lenses
You can consider compact fixed lenses. Fixed lenses won’t zoom in or out. So, you can physically move closer or farther away from the subject. Fixed lenses because they are smaller, cheaper & faster than zoom lenses. They will also provide you a wider aperture. Thus, you can have control over the depth of field.
In this case, you can use Nikon’s Nikkor Z 50mm f1.8 lens if you are using a Nikon DSLR. But most professional photographers recommend the 50mm f1.4 lens. Learn more about Kit Lens if you want to try with an 18-55mm lens.
Best Quality Tripod
Many prefer to shoot food photos without a camera tripod for maximum freedom. But tripods will give you greater control over your settings.
Your tripod must be of the best quality. There are many quality tripods in the market. Order the best one today within your budget for your food photography.
Diffusers & Reflectors
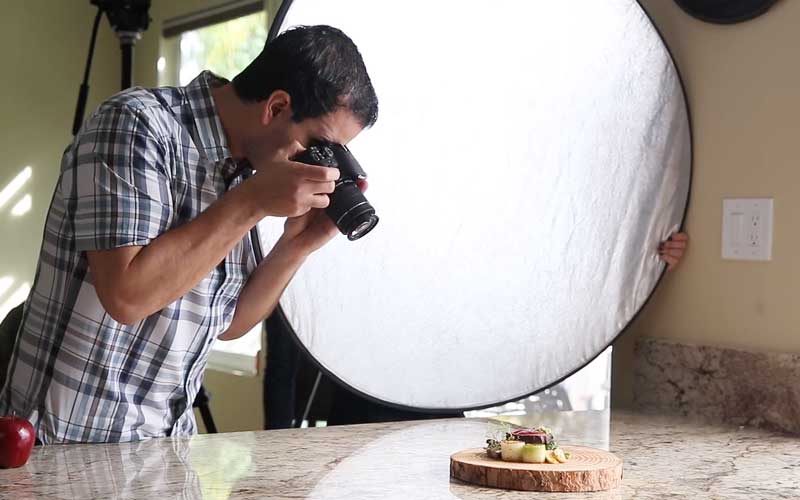
Diffusers & reflectors are used to bounce light back onto the plate and reduce shadows. If you want more shadows, you can bring them out by using a black foam board. You can also do this with sheer white fabric over the window to soften the lighting source.
Camera Settings for Food Photography
Camera settings are the most important things for every photography. For professional photography, three main settings you should adjust. Let’s see the details of the settings.
Use Manual Mode
Shooting in manual mode allows you to control different camera settings. And the RAW format allows post-processing. Besides, RAW images are uncompressed files with the camera information. Jpg photos are compressed. So, shooting in RAW is the best option when you have to take many shots.
Aperture
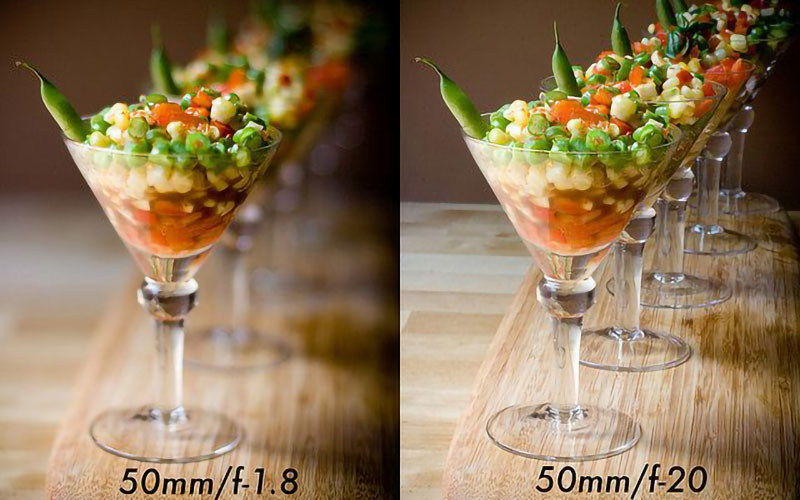
Aperture controls the amount of light that enter into camera. It is measured in F-stops like an aperture of f/2.8. Photos taken with a low number of aperture will let in more light. An aperture of f/2.8 will allow a large amount of light than the aperture of f/8.0. When you use a large number of apertures, more of your food will be in focus.
Have a look at the below photo. It is a comparison of the same subject with different apertures.
Shutter Speed
Shutter speed is the time when the camera’s shutter is open. If you change the settings of shutter speed, you may need to change the aperture. Aperture depicts the hole’s size & the camera’s shutter is for exposing the sensor to light.
For getting a perfect exposure, you must align your aperture and shutter speed.
ISO
When you are shooting in the dark, you may need to increase your ISO. But in the bright light, try to adjust the aperture and shutter speed. Because in the light, higher ISO will make so much grain and noise. Using a tripod will also help you shoot in the dark with higher ISO. Read more from our latest article about what is ISO in a camera.
Camera Angles
In food photography, there are only a few angles you will see again and again. But for shooting appealing food photos, you need to choose your conscious angle. The position of the camera changes the food story you are trying to tell.
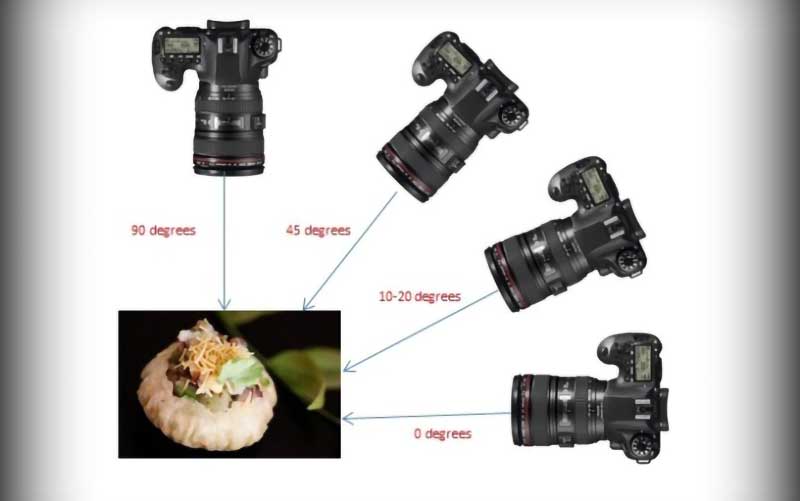
You can capture your lovely foods from the best three different angles.
- 0-degree or straight on: It means taking the photos from the same level of the food. Suppose you can shoot by keeping both the camera & food on the table.
- 90-degree or flat-lay: You can take photos directly from the top of the food. Thus, you can make a variation in the direction.
- Using Variables: In this process, you can shoot from a different angle but maintaining the same position. Suppose you took a shot from 25-degree at the same level as the food. Then without changing your position, you took another shot from 75-degree above the food.
Food Composition
Food composition means styling and arranging food photos. Keeping the foods in the frame then quickly click the shot is not a proper composition. There are many things you need to consider for arranging the foods. Thus, you will get some best shots of your food. Here are some tips from professional photographers for making compositions.
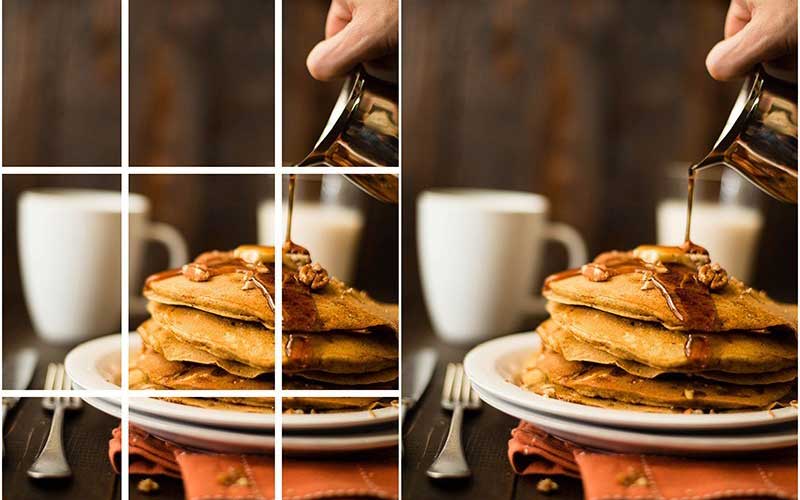
- Creating movement in the photos will make the viewer’s eyes move from one corner of the photo to another. For that, try to use the rule of thirds.
- Take the shots with a natural aesthetic. You can keep a few sprinkles, a few cake crumbs, a spoon, patterned pieces of linen beside the subject. Each of them creates an additional dimension.
- Try to take action shots. You can only take action shots when you use a tripod or take a friend’s help.
- Take the shots with props. You can use different antiques beside the food. Props can be excellent dishes, vintage silverware, distressed wood pieces, white plates, and bowls.
Lighting for Food Photography
Lighting is an essential thing in food photography. If you are thinking about any editorial or commercial food photography, you need to learn to light. Following the proper lighting rules, you can get a decent shot in any lighting conditions. We sort out some great tips about food photography lighting for you.
- Aperture, shutter speed & ISO they all related to light. So, adjust them more carefully when you are using manual mode.
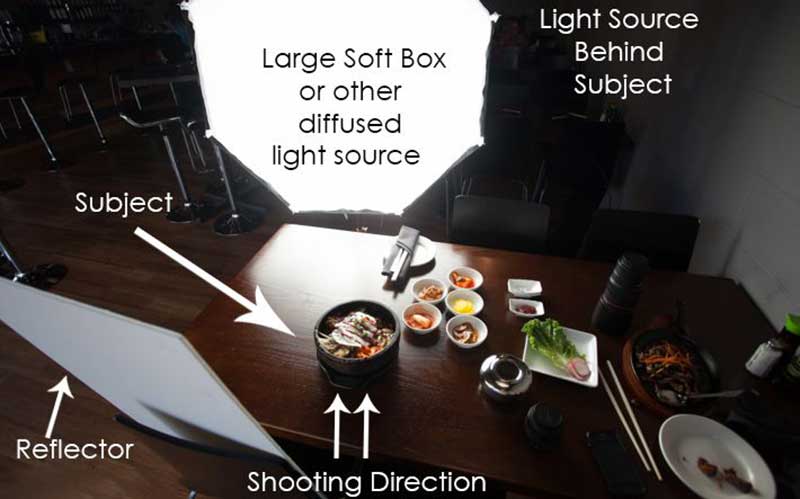
- Use diffusers and reflectors for having soft light. By using these tools, you can avoid the harsh light condition.
- You will get a wired hue if you use external lights and bouncing the light in a restaurant and the walls. So, please ignore it.
- For steam and spritz photos, use a dark background and some sidelight.
There are more facts in lighting you should learn first. Please read our latest article about portrait lighting to know more.
Editing Food Photos
You can use Adobe Lightroom to organize and edit your food photos. It is a fantastic software for editing photos. But for precisely retouching your photos after shooting, Photoshop is the best. You can add more composition after taking the shots.
You can also fix the lighting issue, brightness, contrast, and more with Photoshop. Suppose the color has changed in the photo. You can bring back the real color. In that case, you need to consider using color correction Photoshop.
Conclusion
You can take appealing photos with delicious food by practicing more and more. Not only food photography, but you should also keep your nerve cool when doing any photography. Take a thousand shots and delete. Try it again & again. The more practice you do, the more professional you will be. Comment your best food photography here.
Food photography can be very competitive and profitable. There are hundreds of people in the business, and this number is increasing.
Entry-level or beginner photographers should charge $50-150 per hour. It will also be logical if a beginner charges $25-50 per image.

