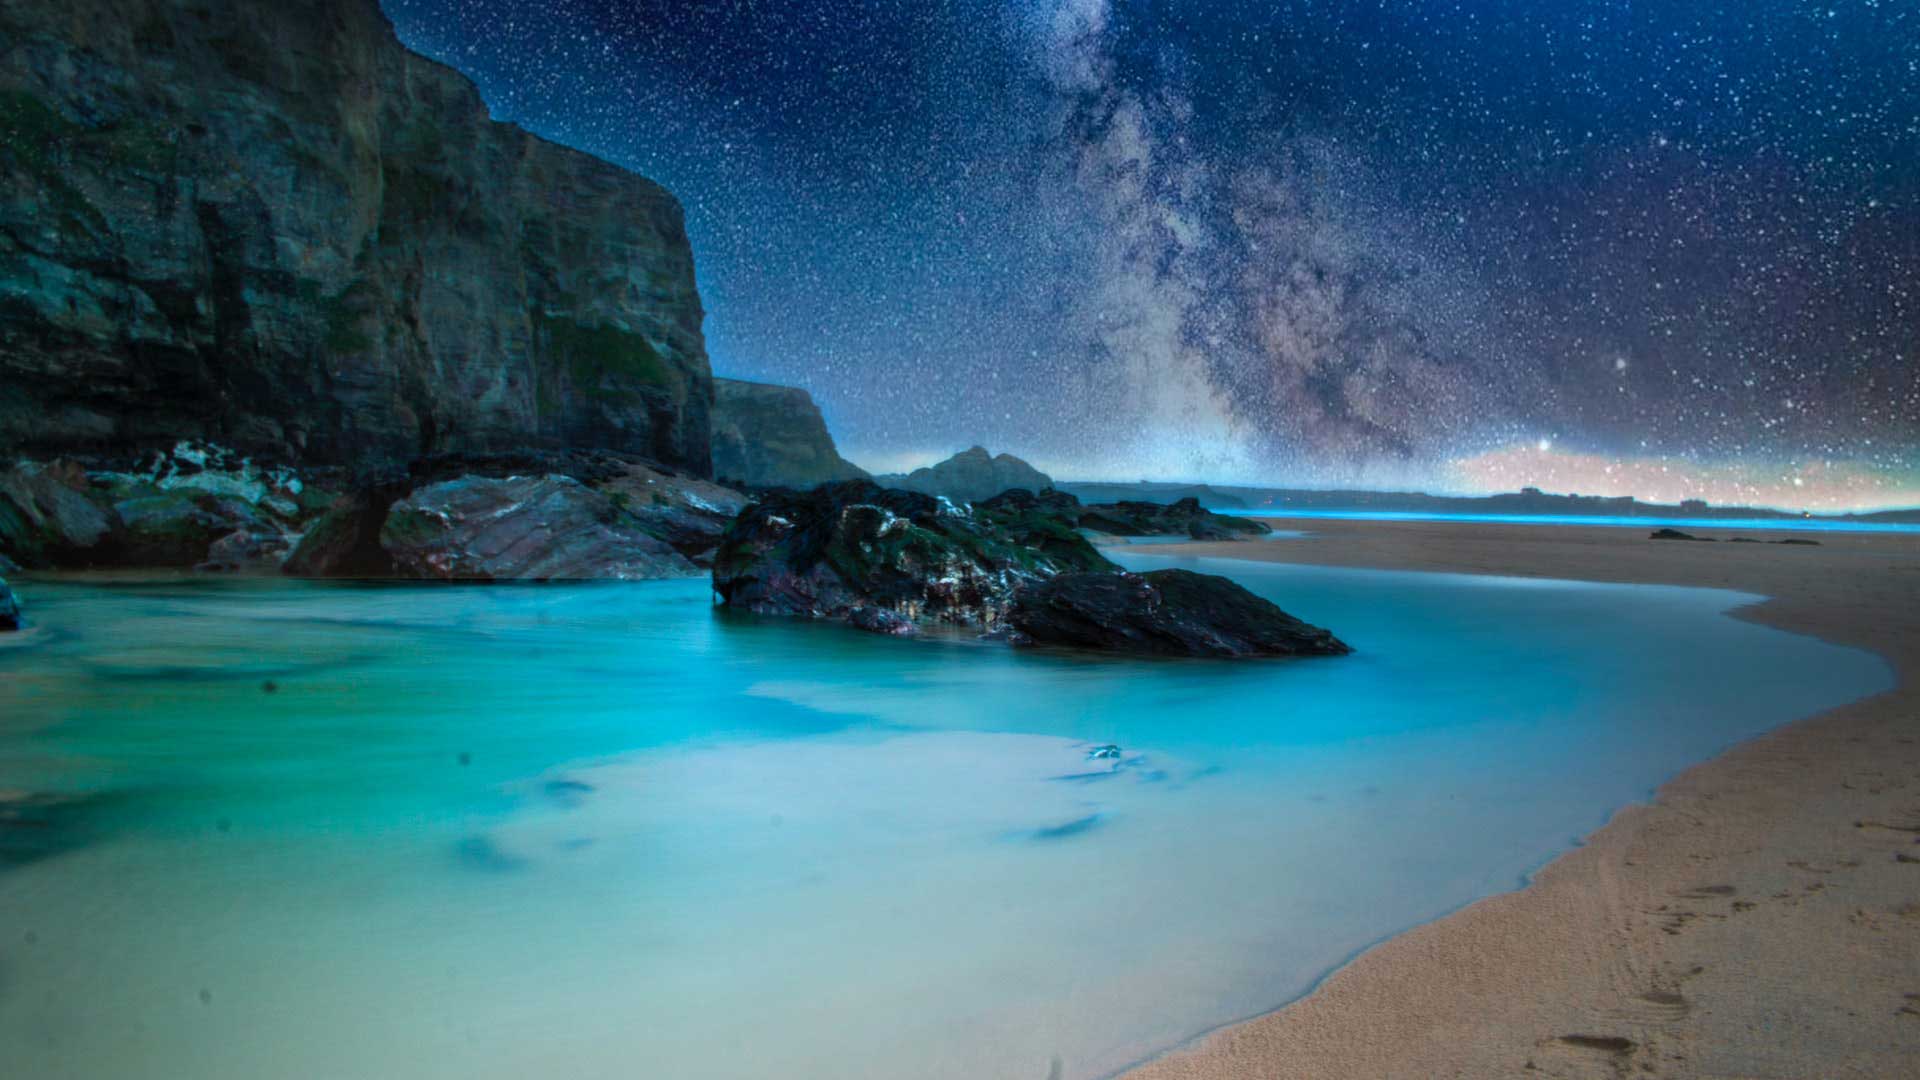
Quality filters and accessories are now available at a low price nowadays. So, the long exposure photography technique has become popular. It is now a trend among the photography geeks.
The perfect playground for long exposures is landscape photography. But many of us use this technique both in the studio and in an urban environment. Getting a long exposure is very difficult. So, we need to change our perspective when doing long exposure photography. Today we will show you how to use your creativity to do long exposure photography. So, let’s see the basic ways of doing this type of photography step by step.
Step 1: Study the weather
If the day is cloudless, then it’s obvious there would be no rain or storm. It is common sense. And the sunny days are not good for doing long exposure photography. Rather you can enjoy the day with your buddies. You can study satellite images and wait for the upcoming storm or a rainy day.
Step 2: Scout the location
For doing long exposure photography, you need a lot of time and perfect composition. Usually, long exposures need way more time than a short exposure. So, scout the location in advance to find a better view and save time.
Normally, we see the world differently in a long exposure. Before fixing the location, you need to see it with your mind. Go deeper with the location in your mind then fix the spot. Try to see a composition, including moving subjects, and predict the direction of the clouds.
Step 3: Use a tripod
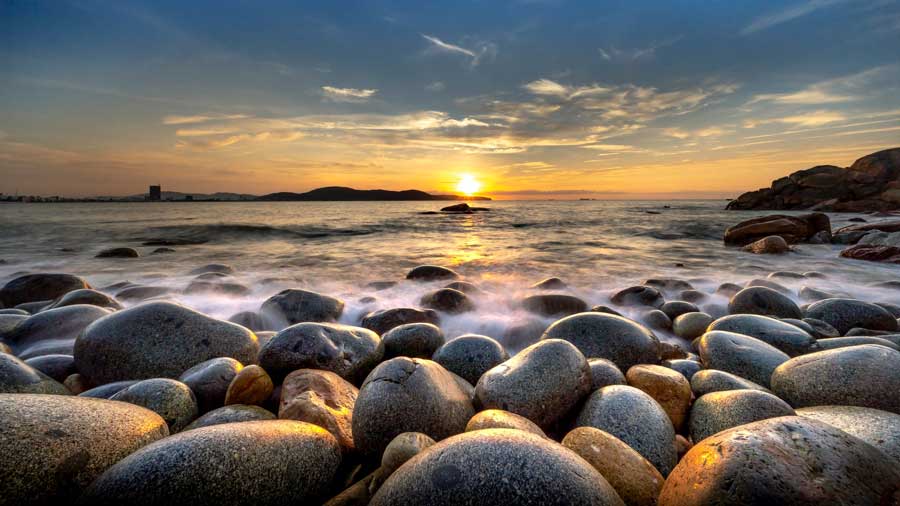
Using a tripod will give you a stabilized photo. Before taking the photo, mount your camera on a tripod, and install all the accessories. You can include a remote shutter and filter holder too. Besides, a tripod helps in all cases, not only in long exposure photography.
Step 4: Compose the image and lock focus
After setting up the camera, it’s time to refine your composition. Then lock the focus on the subject. Turn the lens’s focus ring on if you are using manual focus.
When you are using autofocus mode, you should focus on the shutter button. You can also use back-button focus to maintain your camera focus.
Step 5: Set the exposure
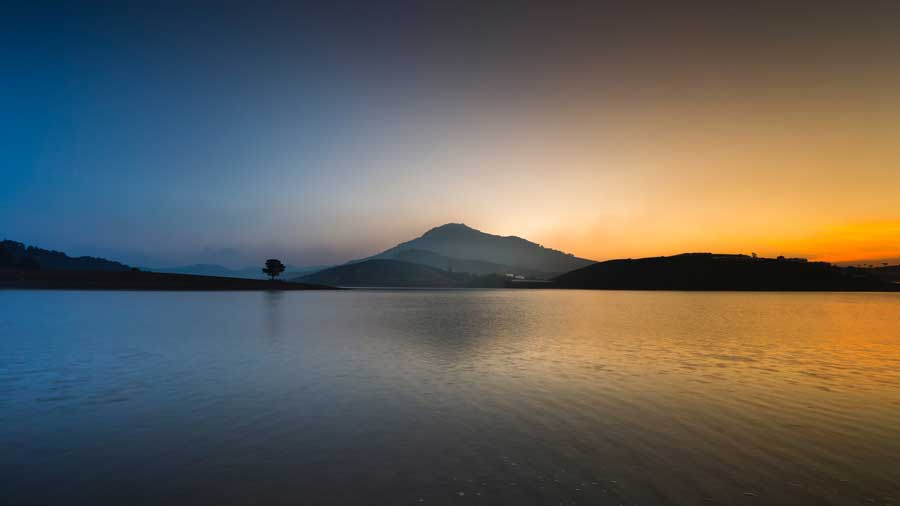
Long exposure greatly depends on exposure settings. For this, you have to set your camera to manual or aperture priority mode. Then set an appropriate value for the scene in the aperture. For the landscape scene, keep it between f/8 and f/11.
You will get a perfect exposure after setting all this. You shouldn’t determine the exposure according to the camera display. So, check the histogram to correct the exposure. After taking a successful test shot, it’s important to write down the shutter speed.
Step 6: Add the Filter
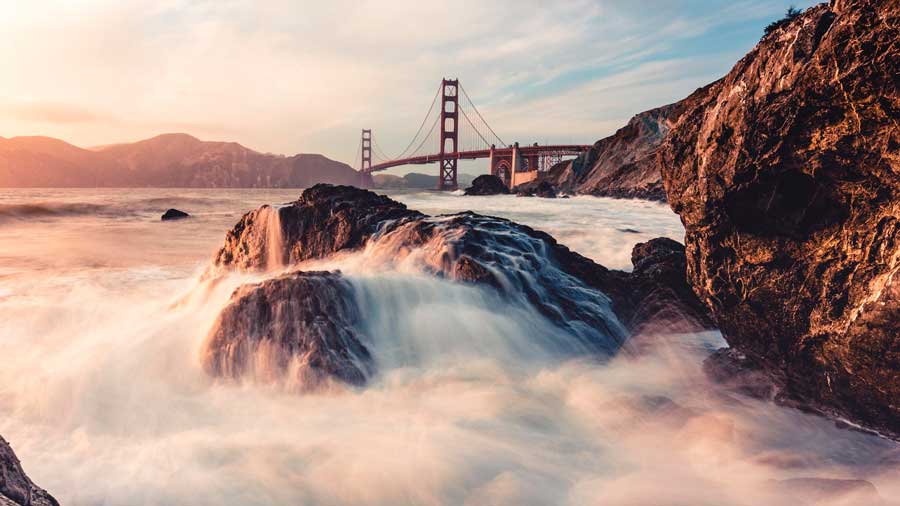
Using a filter is important in long exposure photography. So add the filter that you want to use in the long exposure. If you use a strong filter, you may not be able to see through the viewfinder. But don’t take it as a big deal. Because if you follow the previous steps carefully, it would be no problem.
Step 7: Change to Bulb mode
When doing a long exposure, don’t forget to set the shooting mode to Bulb. By setting this, you can ignore the thirty-second limit of the camera. But don’t change any other settings that you made for the test shot.
Step 8: Take your long exposure shot
If you followed the previous steps with caution, then it’s time to take the long exposure shot. But it’s an important question from everyone that how long we need to keep the shutter open. It’s simple in long exposure photography.
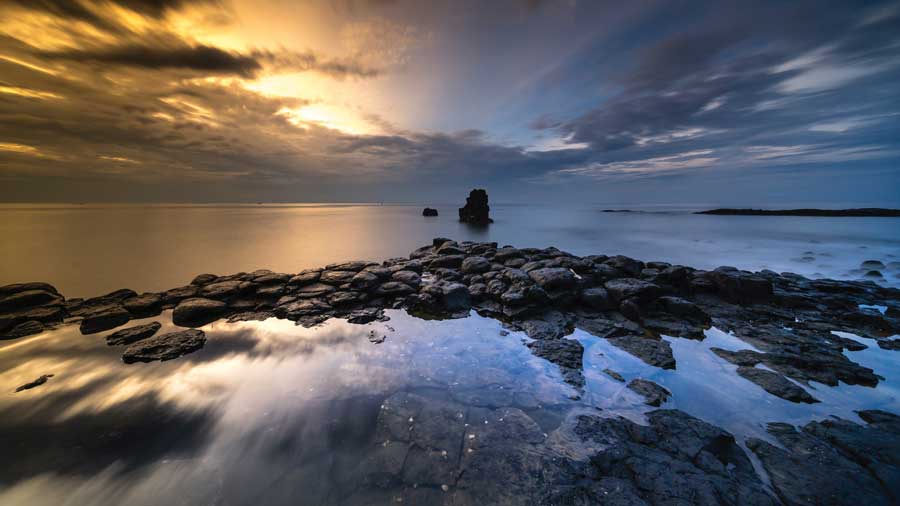
Remember the shutter speed that you wrote down in the test shot? Now it’s time to use that. Adjust the shutter speed according to your test shot. Suppose your test shot was 1/15th of a second. Now to get a shutter speed of 30 seconds, you need to add five more stops.
Step 9: Check the histogram again
After taking the shot with the perfect shutter speed, recheck the histogram. Now compare the new histogram with the histogram of the test shot. If both are equal, then your mission is complete.
Conclusion
You may need to use longer shutter speed if you take the long exposure with a 10-stop ND filter. For the beginner, it takes time to understand all the aspects. But long exposure photography is really fun when you are an expert. So, start from today to be an expert at long exposure photography. Contact with us if require any photography post production.
The ideal settings for night photography is a high ISO. Usually, it starts at 1600. You should use an open aperture like 2.8 and the most extended possible shutter speed.
A 10-stop ND filter is a very dark piece of glass. It blocks all possible lights that entering your lens. It also allows you to enhance your shutter speed to a greater length.

