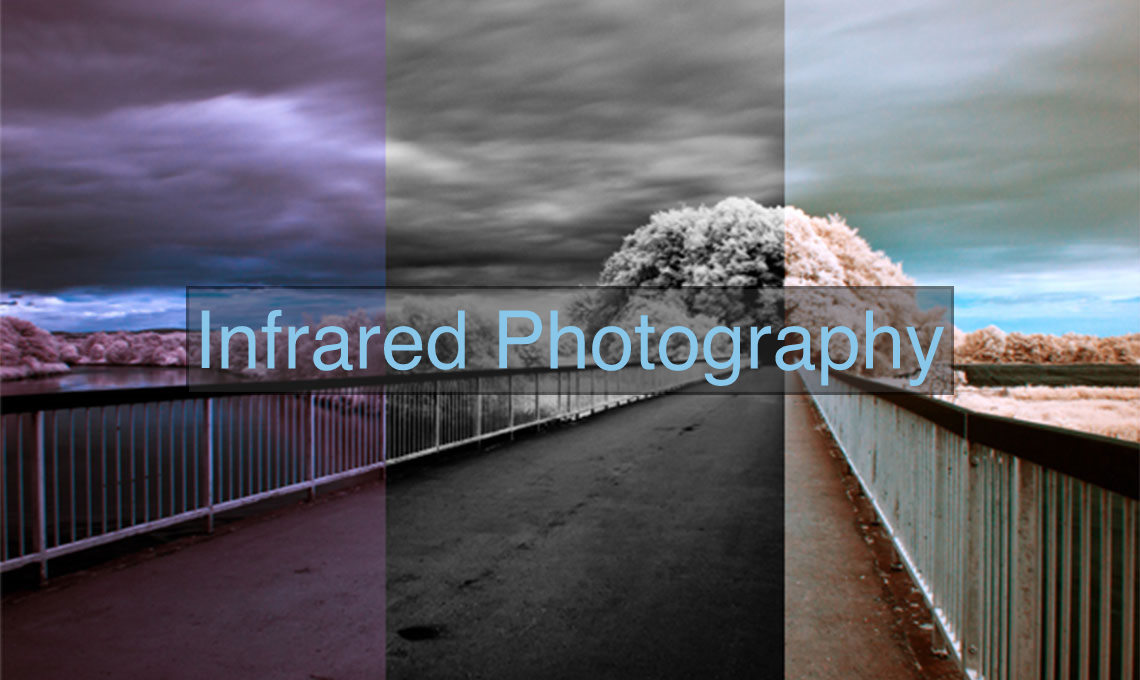
Are you curious enough to look into the invisible world? Or maybe you are thinking about ‘is there a way to see the unseen?’ Yes, there is a way to see what we cannot see with our open eyes. Infrared or IR photography allows us to do that. In this article, we are going to learn everything about infrared photography. First, we will explore the short history of IR photography. After that, we are going to give you excellent tips & ideas about it. This Guide can make you a professional IR photographer from a beginner.
What is Infrared Photography?
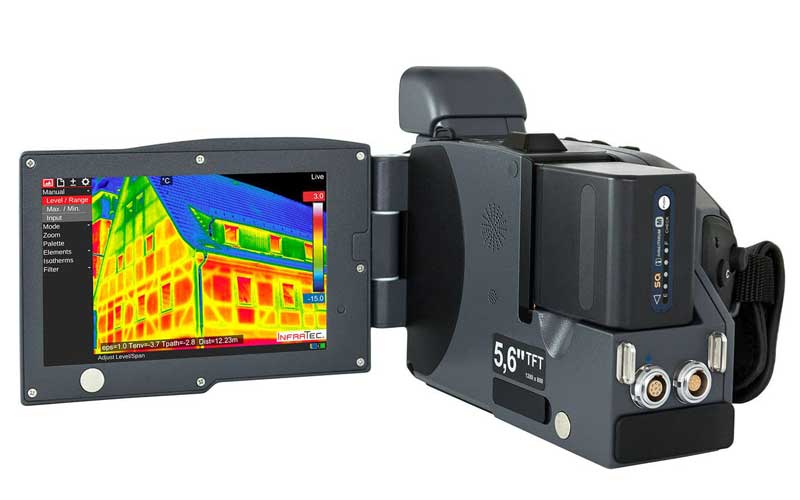
Infrared photography allows us to look beyond our eye’s limitations. As a human, we can see light wavelengths from about 400nm-700nm. It depends on light colors too. In this case, we are talking about the color range purple to red. Beyond 700nm is the area of Infrared Light. We can do IR photography with infrared film. Besides, digital cameras can perform this, including infrared light in the 700nm to 1200nm range. And it is not like thermal infrared.
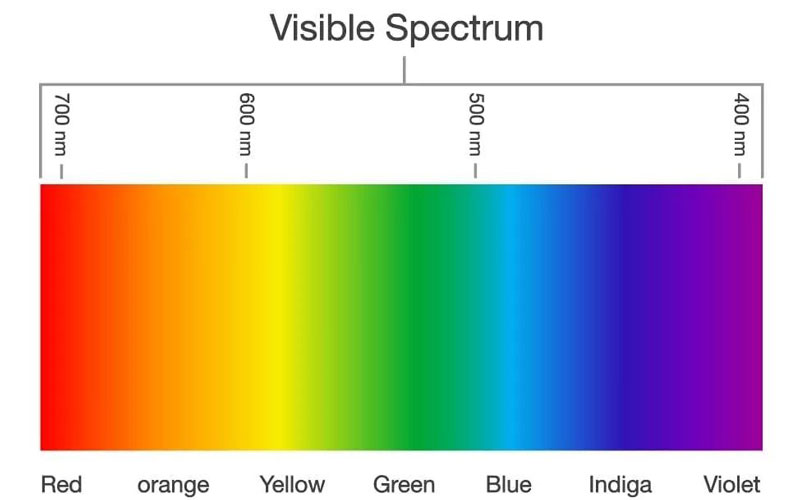
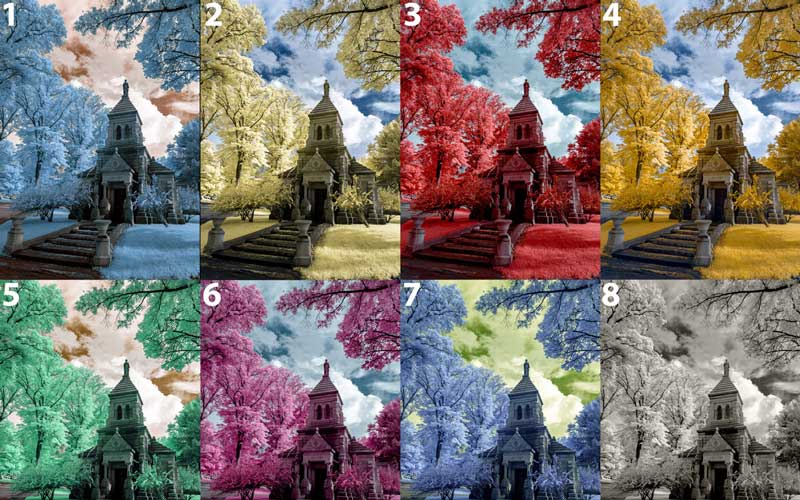
IR photography makes some very pleasing effects, which make the photo attractive. Nowadays, it has not only become more accessible but is also less complicated.
The History of Infrared Photography
In 1910, Robert Wood published the first images captured with infrared light. The photos were shot on experimental film with very long exposures. Robert Wood captured most of his pictures in landscapes. People understood the real value of infrared images in World War I.
The IR images could determine the toxic gas in the air. Soldiers were better able to see differences between hills, buildings, and water. Thus, they could provide crucial intel.
After 1930, Kodak and renowned camera manufacturers released the infrared film to the public. And during World War II, the army started their research into IR photography. Thus, it became a must-have tool for modern warfare.
Camera Gear for Infrared Photography
For doing IR photography, you must have some specific camera gear. Without this equipment, it will be impossible for you to capture infrared photos. The equipment you will need-
Converted Camera
An Infrared camera body is a permanent solution for IR photography. Before doing IR photography, convert your usual camera into the infrared. Usually, a DSLR camera has an infrared blocking filter. You need to remove that filter for altering it. Though it is a complicated process and an expensive solution, it has many benefits.
But remember, once you convert the camera, then you can only use it for infrared photography. You cannot take standard images with it again.
Infrared Filter
The infrared filter allows infrared light to enter the camera’s sensor. At the same time, it prevents visible light from entering. A filter is an easy addition to your infrared gear list. It is also a cheap and better option.
Most manufacturers offer different types of infrared filters. One of the popular infrared filters is the Hoya R72. You can also use other brand filters as they include specific ranges of the infrared spectrum.
Infrared Film
Readymade and relatively cheap infrared films are available. But you will have to find a lab that can process infrared images.
Camera Settings for Infrared Photography
Exposure
When using infrared filters, you may need more prolonged exposures. Then it can block out the visible lights. Try to work with exposure times between 30-120 seconds with an f/8 focus on a bright sunny day. In this case, you must need a tripod.
White Balance
White balance is also essential in infrared photography. Try to shoot with a manual camera setting to set up the custom white balance.
Shoot in Raw & JPG
Shooting both in RAW & JPEG will give you many advantages. And the RAW offers you the opportunity for post-processing. Besides, the JPEG option allows you to adjust your settings more efficiently.
Tips for Capturing Attractive Infrared Photos
When you are shooting, it is essential to know what infrared method you are using. Here are some useful tips that will help you with doing IR photography.
- Use long exposures & shoot landscapes as the infrared photos require attention to detail.
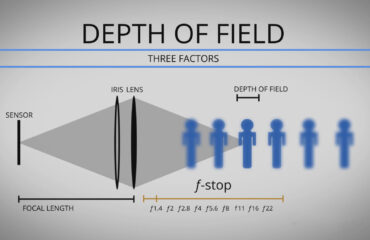
- Use a wide-angle so that you can make an excellent depth of field. You may consider low ISO to avoid high exposed photos.
- Autofocus may not correctly capture your subject. So, use manual focus.
- The brighter infrared photos are better.
- Shoot your images in RAW mode & use a tripod.
- Experiment to play with infrared photos. It may take a long to master it.
Post-processing of Infrared Photos
Auto Tone
When shooting in RAW, your output will be a dull pinkish red image. But you can process your images after shooting with several methods. You can apply a DNG profile conversion tool for processing. The best way is to use the auto-tone with Photoshop.
Channel Swap
Channel swapping is a crucial part of infrared photography processing. There are confusions among the photographers about which channels to swap to what values. Here are some values for changing red & blue channels only, which will help you with post-processing.
Red Channel: Red=0, Green=0, Blue=100
Blue Channel: Red=100, Green=0, Blue=0
or
Red Channel: Red=0, Green=0, Blue=100
Blue Channel: Red=100, Green=100, Blue=-100
Final Editing
If you need final finishing, Photoshop is the best option for photo retouching. In Photoshop, you can adjust hue & saturation and curve levels. You can also edit your black and white infrared photography with Photoshop. But you have to experiment more with infrared photos to make them perfect.
Pic-5(editing infrared photo in Photoshop)
Conclusion
Infrared photography has evolved with time. It offers to apply creativity and a whole new dimension to explore. You can start IR photography with simple infrared filters & then gradually develop your camera body. Having a fully equipped infrared camera, you will able to do professional infrared photography.
The medical field is one of the significant areas for using infrared light. Infrared radiation can penetrate human skin. It is also used in dentistry, as the enamel shows up darker than dentin. Besides, military-grade infrared cameras are used for searching intel.
In medical studies, high IR exposure can lead to lens, cornea, and retina damage. But using protective suits with IR filters or reflective coatings will help prevent the damage.

