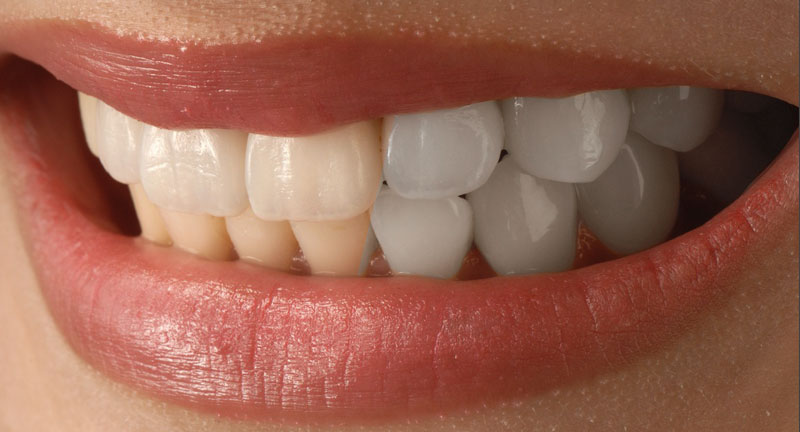
Stop feeling embarrassed about your yellow teeth in the picture.
Get white teeth in just a few minutes, even if you don’t know Photoshop well.
Today’s article is about whitening teeth in photoshop. There are several ways to make your teeth white. I will show the two-sample method you can do it by yourself. Use one of our methods and Look more attractive, get more attention and feel better.
Requirements
- Computer (Windows or Mac)
- Photoshop
Teeth whitening is a common edit for retouchers. It’s a process that can be done on photos using Photoshop. Let’s start
How to whiten teeth in Photoshop
1. Hue and Saturation Method (Recommend for New user)
2. Selection Method (Intermediate User)
1. Teeth Whitening In Photoshop (Hue and Saturation Method)
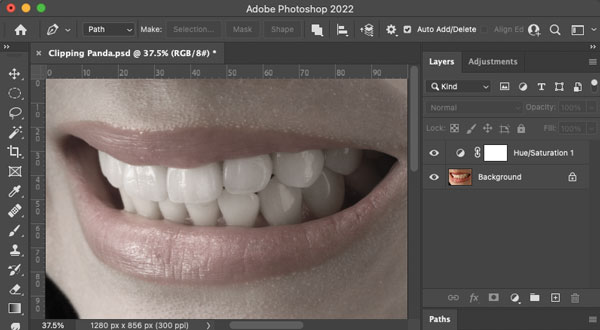
Open your images in Photoshop. Go to “create a new fill or adjustment layer” and select the “hue and saturation” layer.
Hue/Saturation Color Adjustment:
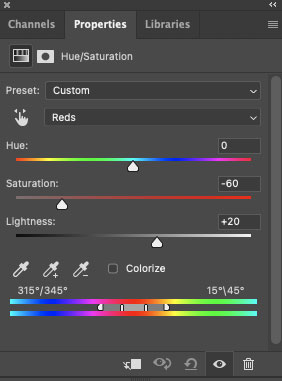
For whitening teeth, we see yellow and red teeth. Using the Hue/Saturation Panel, we adjust Yellows and Reds Color.
Yellows Color Option: Reduce Saturation until you get perfect results. Here we set Saturation -100.
Reds Color Option: We reduce saturation and Increase Lightness. In this tutorial, we set Saturation -60 and Lightness +20.

Note: This Hue / Saturation layer will affect the whole image. Now, we create a new inverse mask, and the image will be back in its original color.
Masking and Inverse Masking:
We can see a white mask layer. We need to inverse this mask by pressing Cmd + Backspace in Mac & Ctrl + Backspace for Windows. Make sure the foreground color is white.

Painting Yellow Teeth Using Brush Tool:
Select the brush tool “Pressing B” and make sure the foreground color is white. If you don’t have foreground color white, press “D” for the reset setting. Press “X” to switch the color between black and white. Then, start painting the yellow teeth area using the brush tool.
2. Teeth Whitening In Photoshop (Selection Method)
- Creating Path Using Pen Tool (Yellow Teeth Area)
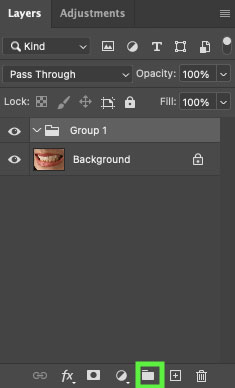
- Take a new group layer
- Path Selection and Feather
- Masking & Adjust Layer (Black and White or Hue/Saturation Layer)
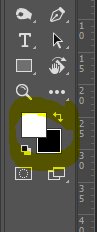
Pen Tool:
Photoshop has a variety of tools to make your photo look great. One of the most popular tools is the pen tool. Use the pen tool for selecting specific areas in a picture.
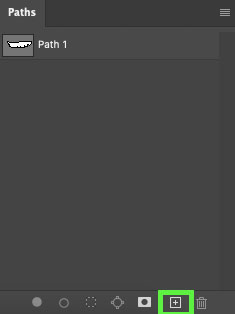
- Create a new path layer
- Select Pen Tool (Shortcuts P)
- Create a Clipping Path (for selection yellow teeth area)
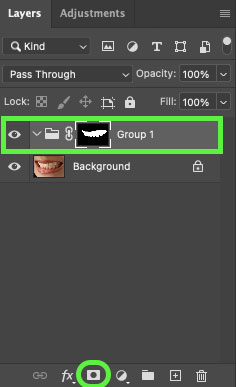
New Group Layer:
Path Selection and Feather
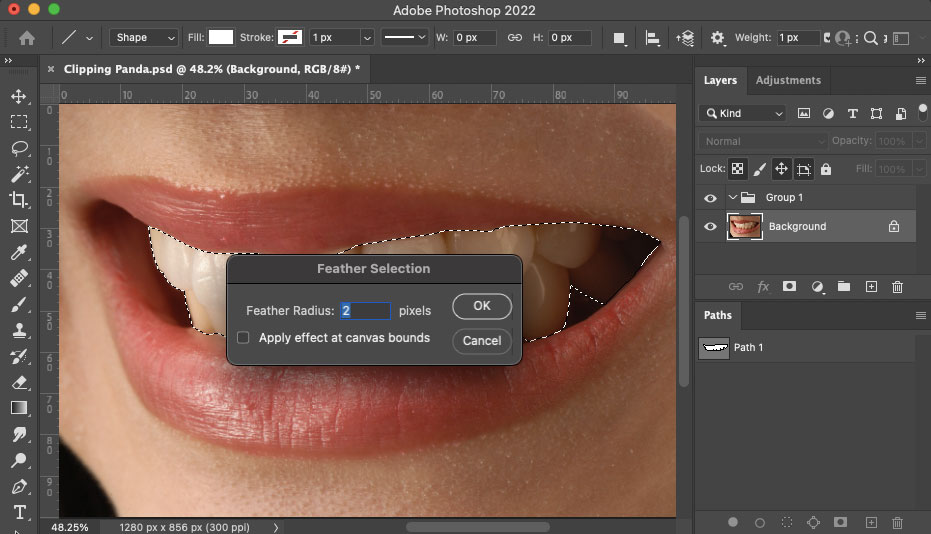
Create a clipping path (yellow teeth area) using Photoshop Pen Tool. And select path by pressing “Enter“
For feather selection, press “Shift+F6“. Select feature value 2. Check out this post for more details: how to feather in photoshop
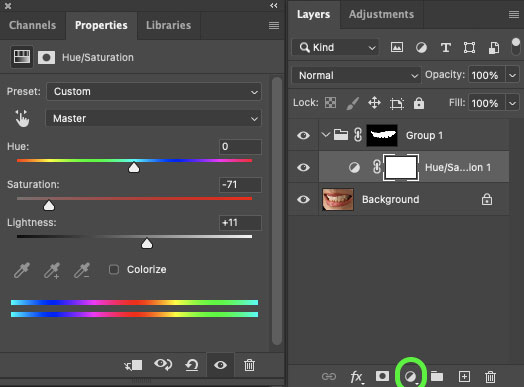
Masking and Adjust Layer
Select the group layer and create a mask.
Simply choose Hue/Saturation and adjust the panel. Adjust yellows and reds color.
Important Shortcuts
- For inverse masking Shortcuts Ctrl+I for Windows and Cmd+Backspace for Mac
- Pen tool (P)
- Brush Tool (B)
- Increase brush size press “]” and decrease brush size press “[“
- Feather (Shift+F6)
- Color Switcher (X)
Conclusion:
Every people want to keep their photo alive with beautiful smiling. However, if you are unhappy with your yellow teeth, follow these steps to make your teeth whiten.
This tutorial, “how to whiten teeth in Photoshop,” is easy. But remember, you need to set up a good combination of brightness, opacity, and saturation adjustment. If you need any help from us, don’t hesitate to contact us.
FAQ
You can use Adobe Photoshop in any version. We prefer to use Adobe Photoshop CC.
Best way to whiten teeth in Photoshop using Hue/Saturation.