Image masking is a significant Photoshop process to reveal some portions of an image by hiding some parts. It is a safe process and never destroys the image quality if we carefully maintain the process step by step. After all, Image Masking is a creative way to manipulate any image as you want it.
Image Masking in Photoshop can help separate the image into layers adapting the Background to match the object in the image and product.
In this tutorial, I will use image Mask on a photo of a woman wearing a wedding dress. And show you how to change the Background of the picture using the image masking process.
Let’s do it.
Step 1
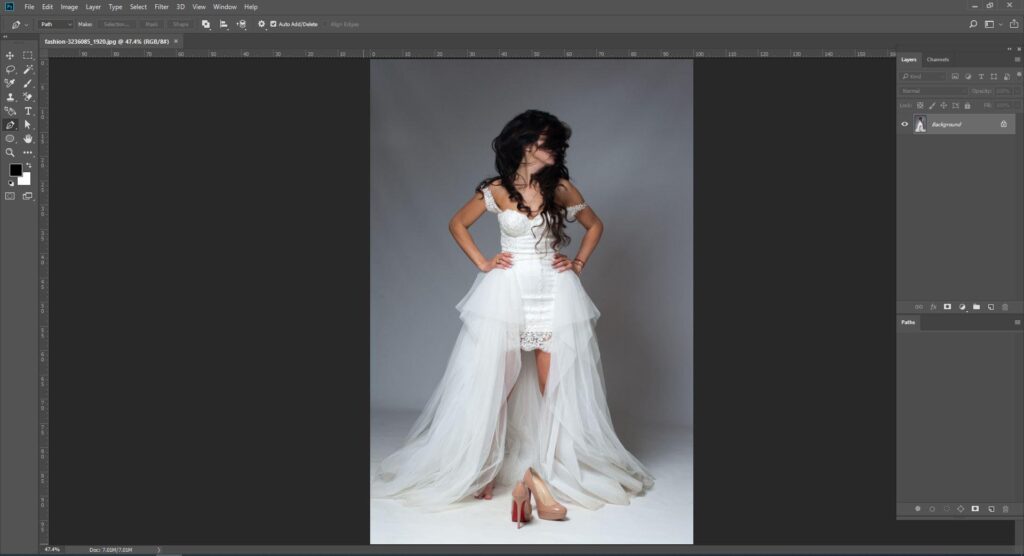
First, I’m going to open the photo in Adobe Photoshop, as you can see in the screenshot. On the right side, you can see that there is a layer for the photo called Background. It will be created automatically when opening the picture.
Step 2
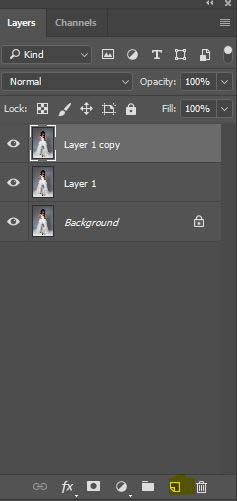
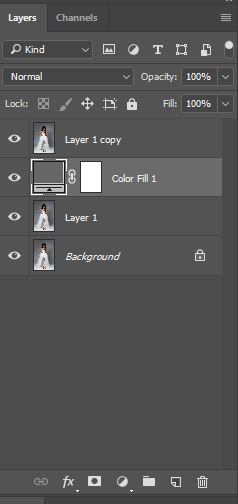
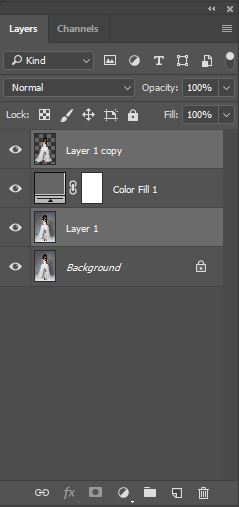
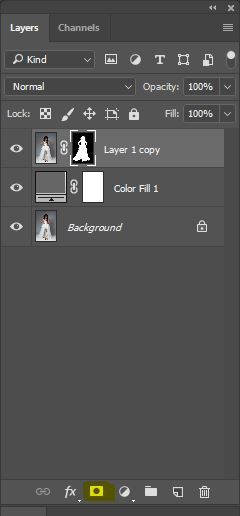
As we need two layers to create a clipping mask, so we will create a new layer called layer 1 by clicking ‘Create a New Layer Icon.’ We will copy this layer, but first, we have to unlock the Background layer. Now add the new layer under the image layer.
Step 3
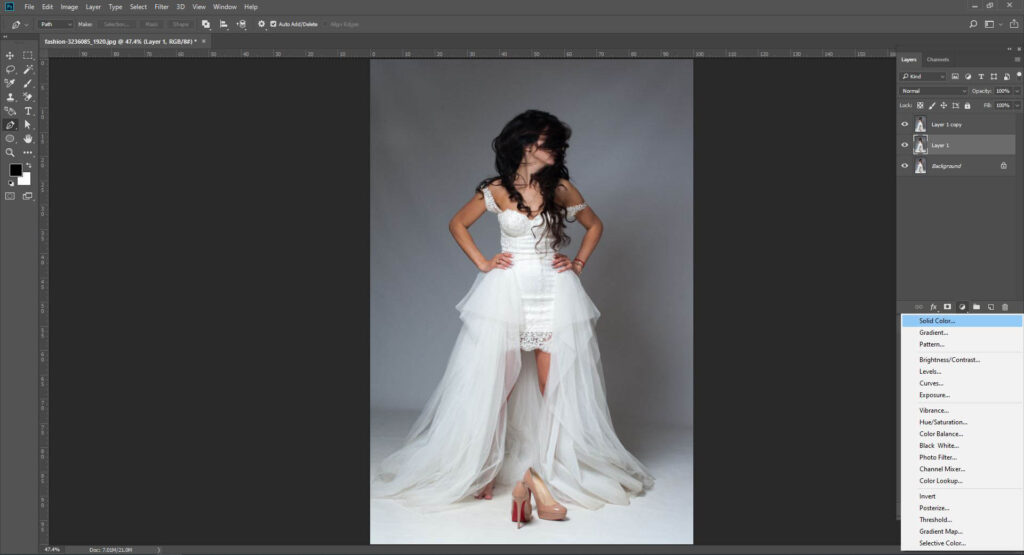
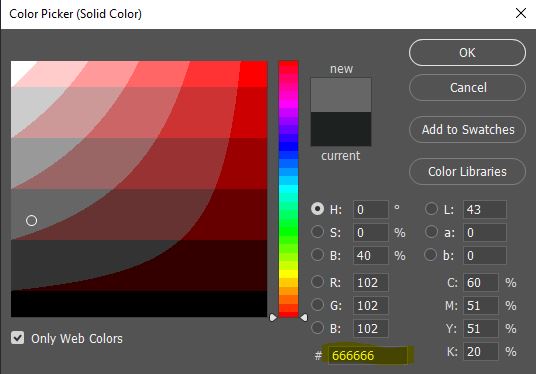
Now create a color adjustment layer by clicking the ‘New fill or adjustment layer icon.’ After clicking the icon, we will see a color palette for this layer. For this photo, we will use the color code ‘#666666’. This color code depends on the Background. After that, we can see there will be a new layer called ‘color fill 1’.
Step 4
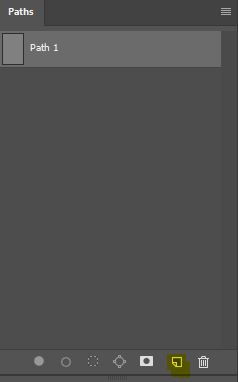
In this step, we will create a clipping path by clicking ‘Create a New Path.’ If you do not see the path option, go to the window from the top bar of Photoshop. Then click to mark the Paths option.
Step 5
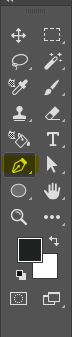
It’s time we need our valuable tool to create a path for image masking. Yes, I’m talking about the pen tool. Select the pen tool from the toolbar.
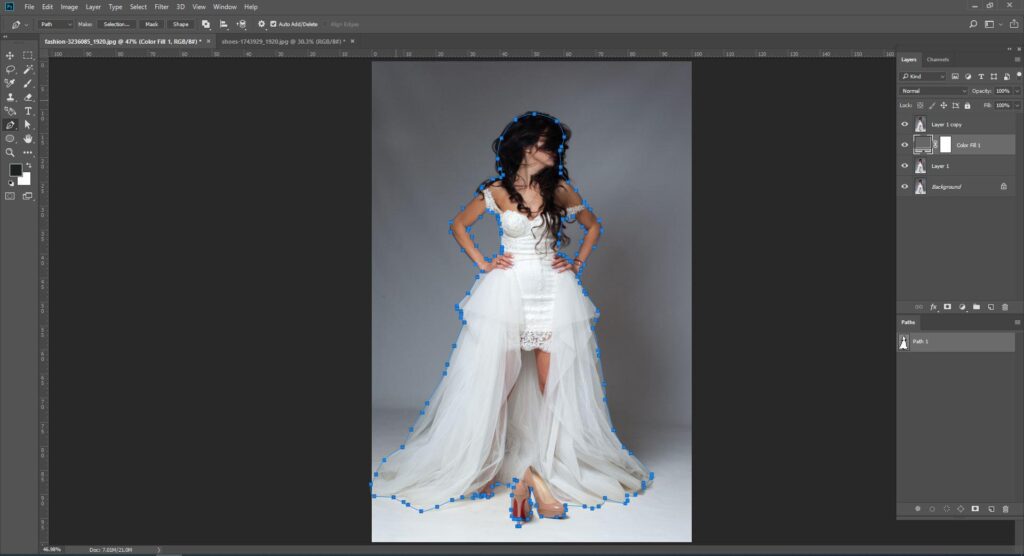
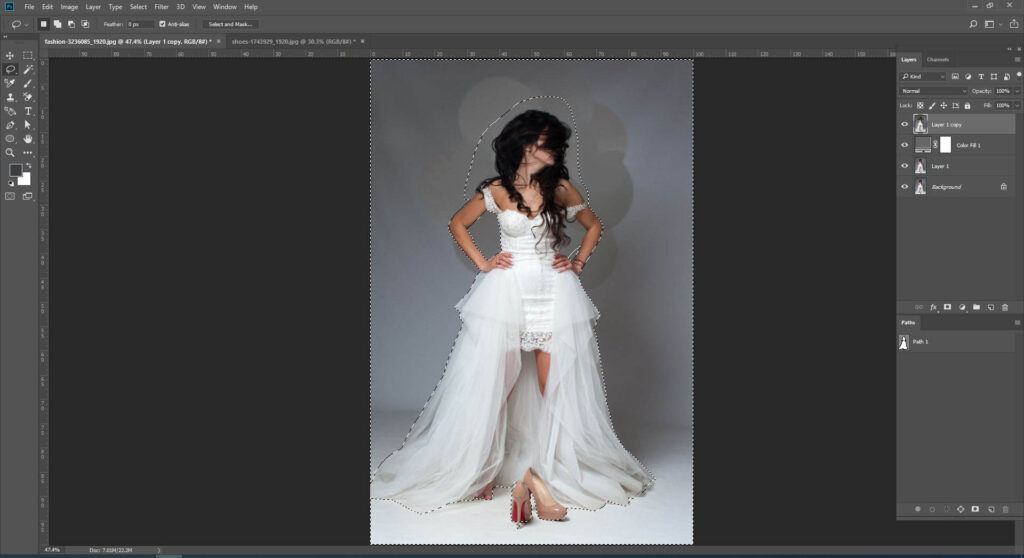
Step 6
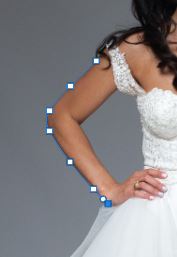
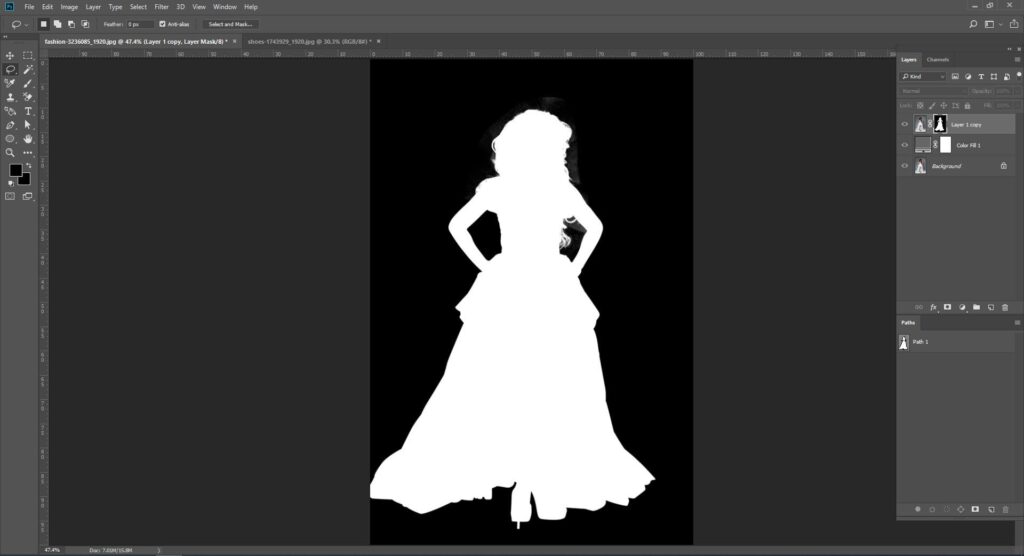
After selecting the pen tool, we will create a clipping path around the woman’s body, like the screenshot below. But there is a problem. The hairs of the woman are almost impossible to draw a straight path. For this complexity, we will use another fantastic tool. It’s called the lasso tool. We will come to that later.
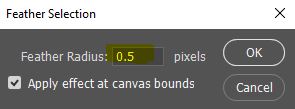
Step 7
Now select the path. Then click feather selection from the top and give it feather radius .5 pixels. Then click, ok.
Step 8
Now we need a background eraser tool to erase the Background. Click ‘Eraser’ then ‘Background Eraser Tool’. Now click “Sampling: Once” and make the tolerance to 32%.


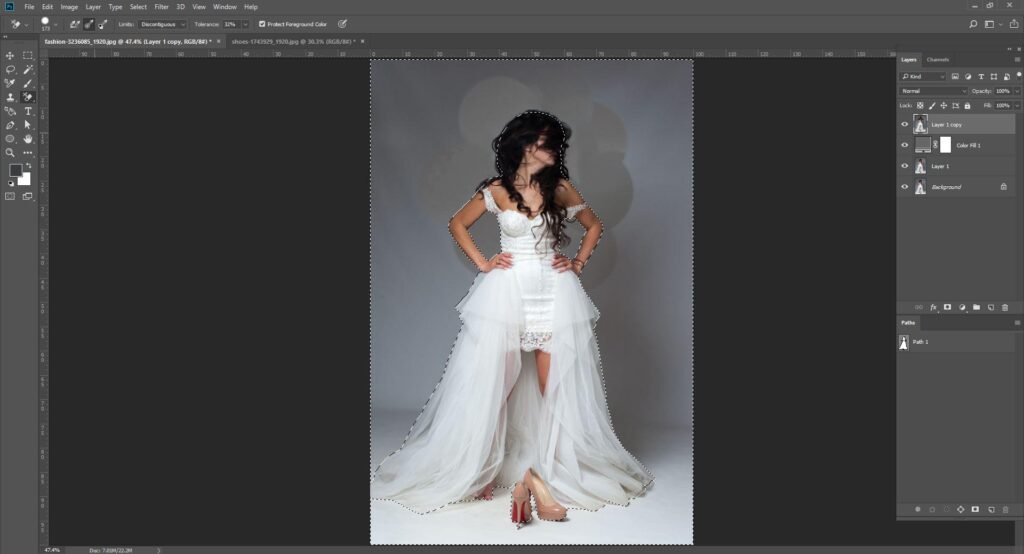
Step 9
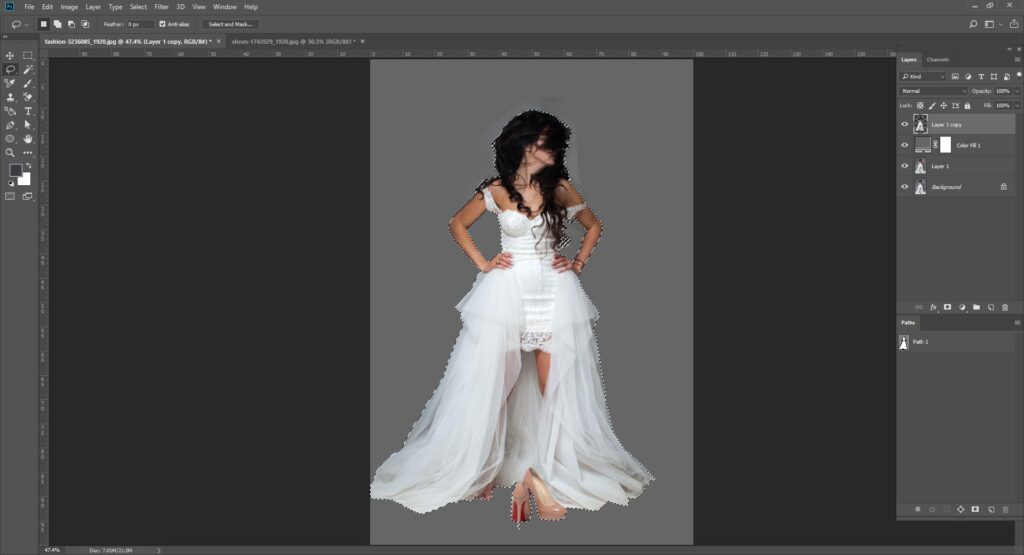
By selecting Ctrl+Shift+I simultaneously, we will inverse the layer. With the help of the Background Eraser Tool, we will choose the background portion of the hair.
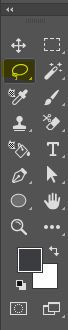
Step 10
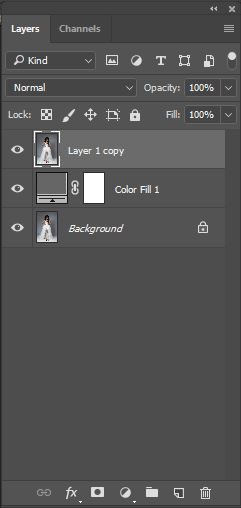
it’s time to use that LassoTool, that I told you earlier. Select the round-shaped tool from the toolbar. Now select the hair with the lasso tool then press delete to delete it. Now drag layer 1 to layer 1 copy by pressing Ctrl+E to merge them. Soon we will see the merged layer as below.
Step 11
Now select the merged layer, and then we will see there is some distortion around the hairs. To remove that, select the Brush Tool from the toolbar. Now again, click the color adjustment layer. Select a white color to erase the white portion and black color to choose a black part around the hair.
Step 12
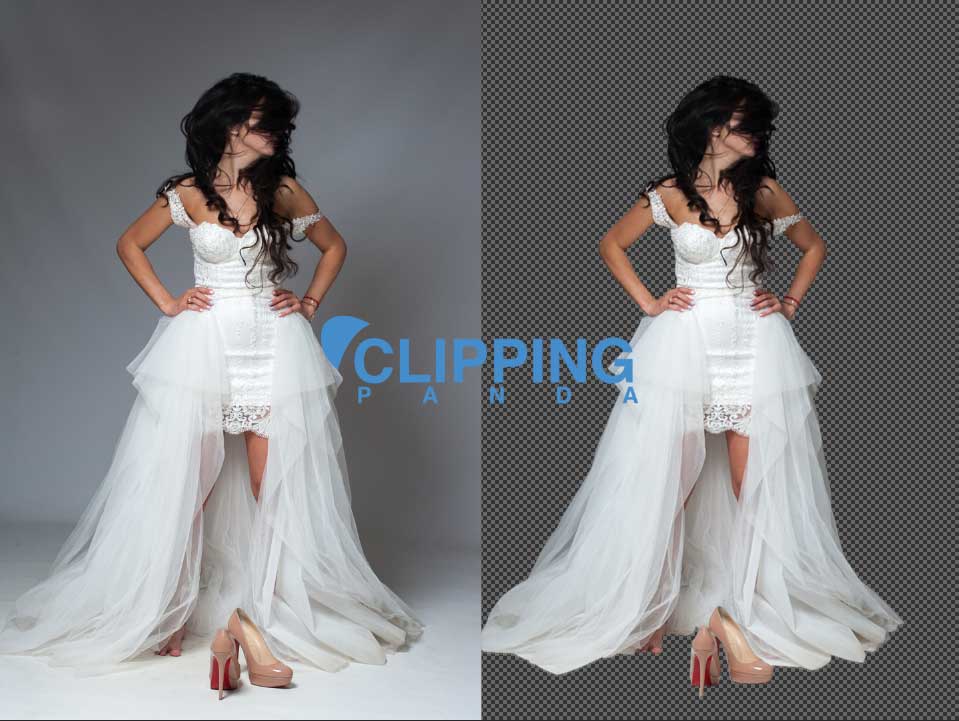
Finally, it’s done. As the masking is complete, now we can change the background color of the photo whatever we want by clicking the layer’s color adjustment option.
Final Before After Image by creating masking.
Finally, I will finish this tutorial by adding some additional information about Image Masking in Photoshop. Generally, we see two types of image masking in Photoshop. One is Layer Masks, and another one is Clipping Masks.
Layer masks use values of gray of layers. On the other hand, clipping masks use the transparency of one layer to define that of a different layer of layers.
Though it takes massive time to Image masking but with the help of creative techniques, this is fun for the creative Image masking designers.
Clipping Panda provides image masking service. If you require any image masking, contact us.