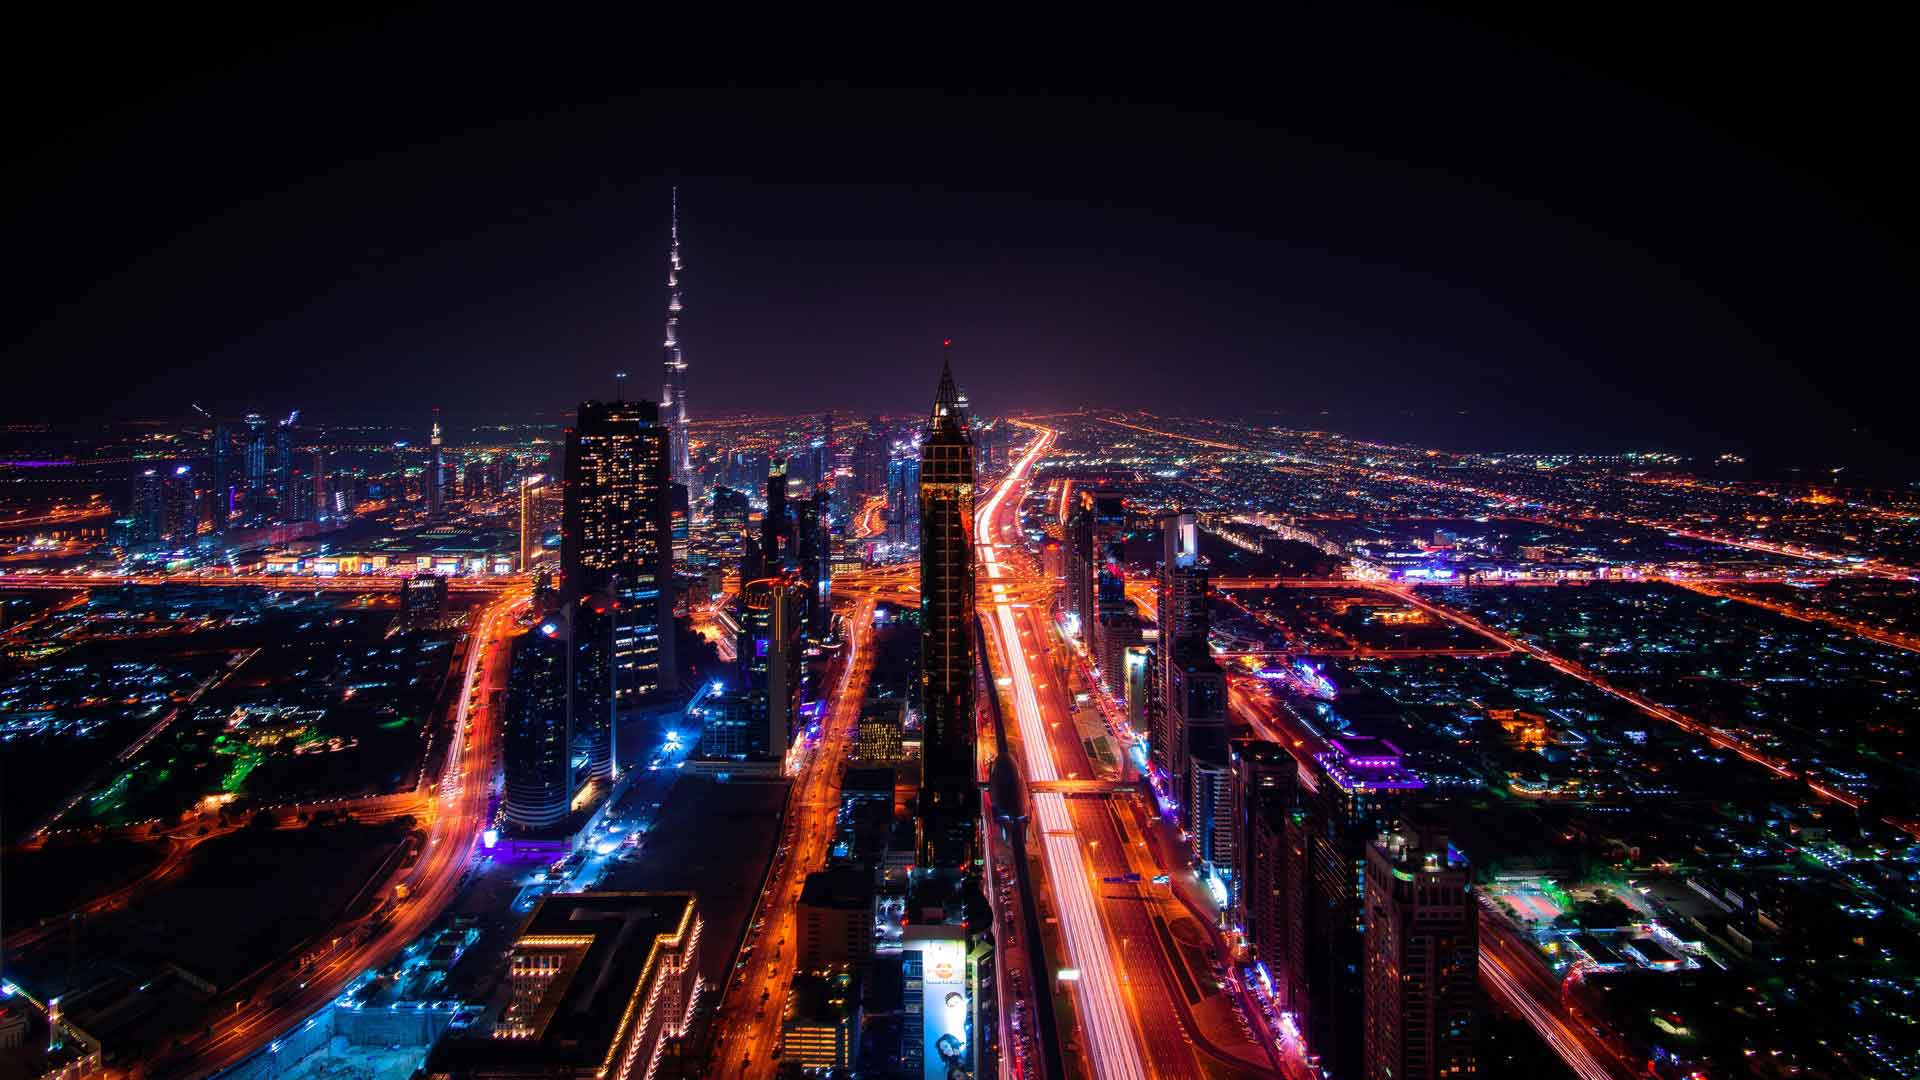
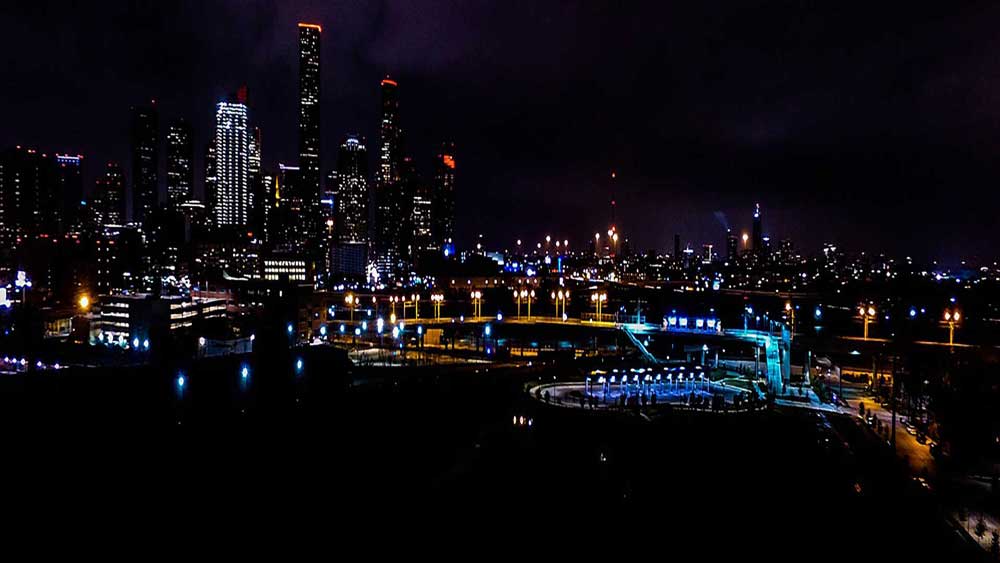
Night photography makes the ordinary scenes into amazing shots. When we take a photo of a building or a street in the daylight, it’s not that interesting. It can be a dull picture. Normally, all the photos we take in the daylight. Because we think photos are great in the sunlight. If you know how to take an amazing photo at night, then you know we are wrong.
The process of taking amazing shots at night is a night photography. But very few people actually know how to take a great shot at night. It is easier than taking a photo at daylight if you know the exact process.
So today, we will learn how to take an amazing shot at night. First, let’s see the basic arrangements for night photography. Then we will explore you over the gear, exposing photos, focus at night, etc.
What to Bring for Night Photography?
So, what gear will you need for photographing at night? Here we will tell you every important piece of equipment for your night photography. You will be happy to hear that photographing at night doesn’t require extra gear other than basics. The most important gear that you will need is the camera and tripod. You can use an extra lens if you want, but your camera’s standard lens is enough.
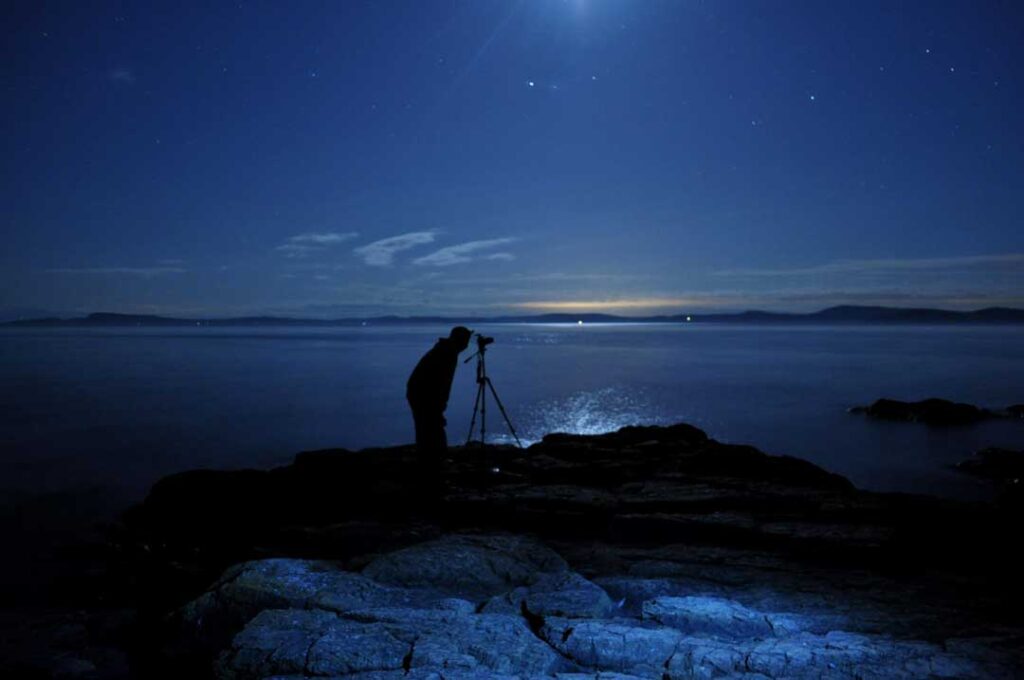
But you must use a tripod when photographing at night. Because in the darkness, you have to use long shutter speed to gather enough light. So, your camera must be steady, and the tripod is the best option for that.
Another important gear is a remote shutter. Both cordless and corded remote shutter releases are available. So, use a remote shutter release for a better experience. Don’t forget to bring a flashlight, lens hood, and extra batteries. These little things are very important at night photography.
Exposures for Night Photography
The exposure values make the biggest difference between day and night photography. Controlling darkness is everything when photographing at night. But getting a proper exposure is not that difficult once you have your camera on a tripod. Let’s take a quick look at the exposure settings.
The camera exposure results from the three main controls, such as shutter speed, aperture, and ISO. They are also known as the exposure triangle. You need to let more light into the camera for the darkness. So, you need to adjust these three controls to do that. So, let’s see how to adjust the exposure triangle settings.
Shutter Speed
Usually, when we take a shot at daylight, we use a shutter speed that is a tiny fraction of a second. But at night, the camera will use a longer shutter speed than one second. Sometimes it takes way longer than that. Basically, at night, the camera needs a long time to capture light for perfect exposure. For that long time, keep the camera steady otherwise, the photo becomes blurry. That is why you need a tripod for night photography. On the tripod, the camera can be steady as long as it takes. So, you can leave the shutter open for a long time without moving the camera.
Aperture
The aperture controls how much light can enter the camera. For the given shutter speed, the aperture allows a specific amount of light. The size of the aperture also affects the depth of field.
There is no difference between the aperture of day and night. The main difference is that the camera needs more light for proper exposure. So, sometimes a small aperture needs a longer shutter speed.
ISO
The third setting in the exposure triangle is ISO. With ISO, you can measure the sensitivity to light in the sensor. The higher the ISO, the more sensitive the sensor to the light. In that case, it will allow you to use shorter shutter speed. But, higher ISOs can create more digital noise in the photos. This is the problem with night photography.
But don’t worry about using high ISO if you are using a tripod. Actually, you don’t need to use a high ISO as the tripod allows you to use longer shutter speed. In some cases, if you can’t use a tripod, then you will need to increase the ISO.
The good news is digital cameras are getting better to handle high ISO. You can also use post-production services to reduce noise later.
A Starting Point for Proper Exposure
Now let’s start night photography by adjusting default exposure settings.
A lot of people use Aperture Priority mode when photographing at night. So, if you are still using an automatic mode, give the Aperture Priority a try. Then set the Aperture and ISO. Start by setting the aperture to f/5.6, which is a good choice for a perfect amount of light. As the background will be black, so you don’t need an extremely deep depth of field.
The next setting is the ISO. Set the ISO at about 400, which is enough to use extremely long shutter speed. Then see where the shutter speed ends up when adjusting the shot. Remember to use a tripod. The shutter speed might be a little bit longer. Sometimes, with a wide aperture and high ISO, the shutter speed might be long enough that will be an issue for camera shake.
Exposing the Night Sky Photo
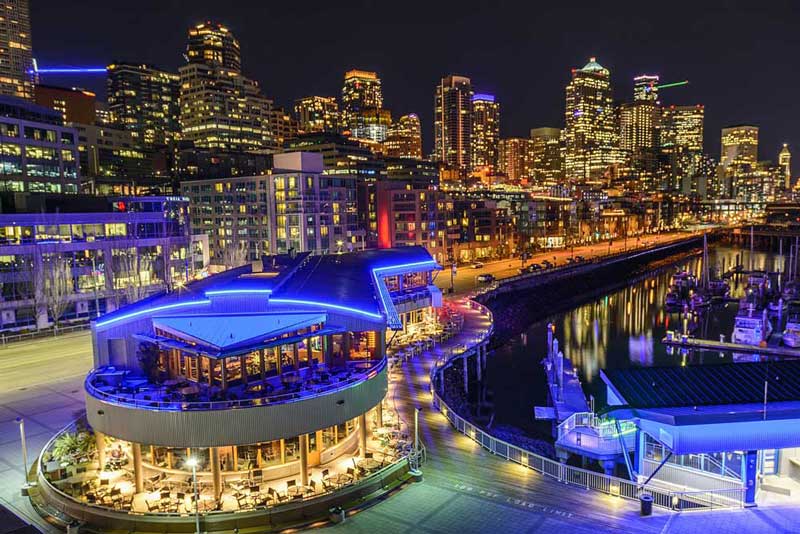
You can use a specific exposure setting. The exposure settings for the night sky photo will be:
- 15 seconds Shutter speed
- f/2.8 Aperture
- 6400 ISO
This is the settings that we are using too. If your lens doesn’t open up to f/2.8, then you have to increase the ISO. If you lengthen your shutter speed more, the stars will have little trails that will make a blurry shot. It is because of the earth’s rotation.
Picking a Subject for Night Photography
Now you know how to expose your photos. So, pick a good subject for your night photography. At night, things will look different. Choose your subject with a good purpose.
You can have an idea from my list that I picked for photographing at night. Let’s see my subjects.
The Night Sky
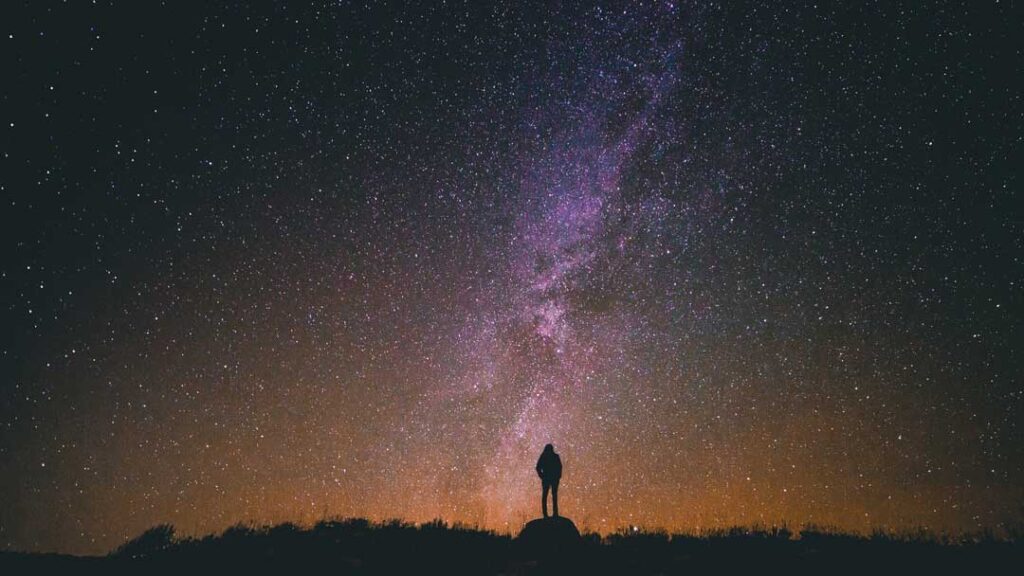
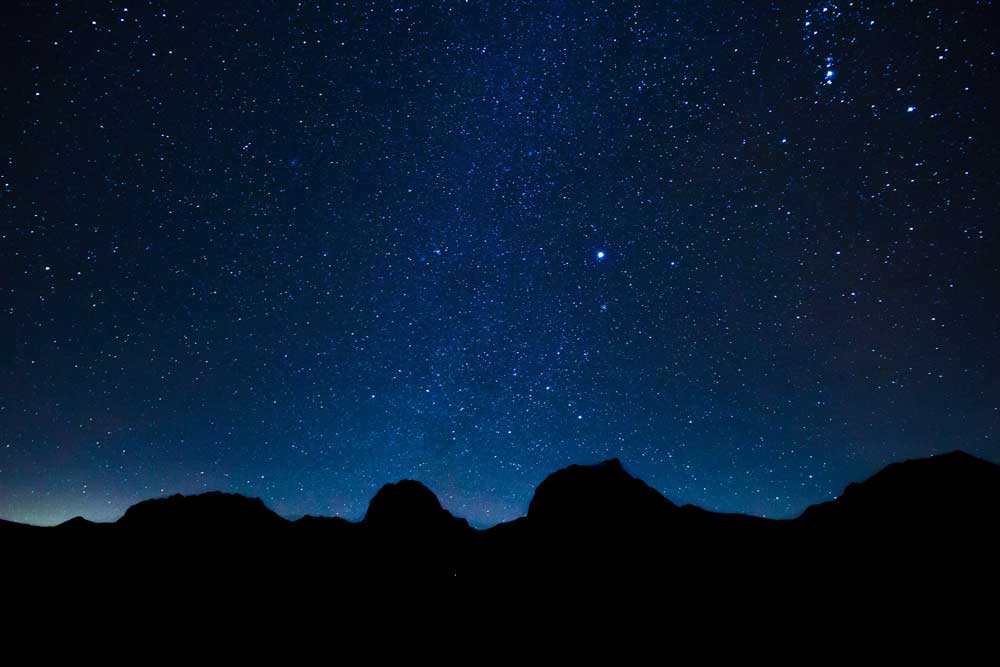
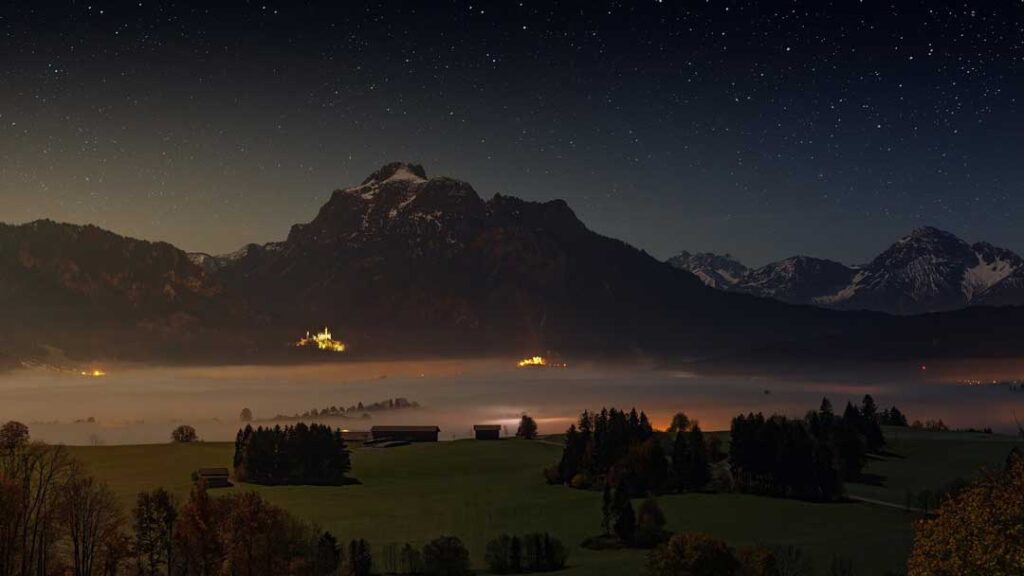
A clear night is a perfect night to photographing the night sky. It will be greater if the night is moonless. Try to catch the Milky Way. The best time for doing that is March to October. Using an app called Star Walk can help you get a handle on the timing. Try to add an amazing foreground to the shot.
Museums and Public Buildings
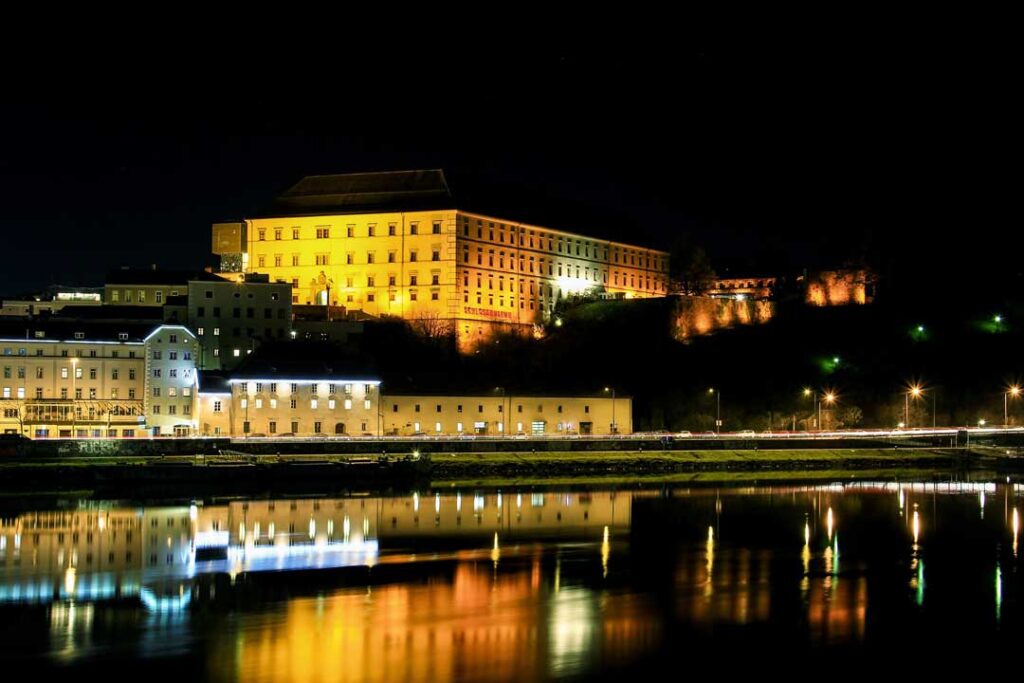
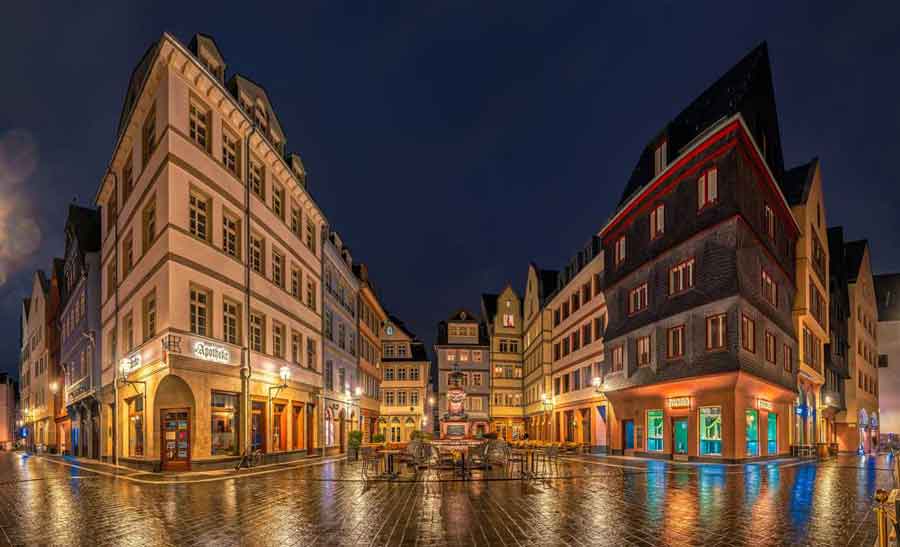
The buildings with lighting are the best subject for night photography. The results of these subjects can be great. Many night photographers usually pick these subjects to start night photography.
Fountains
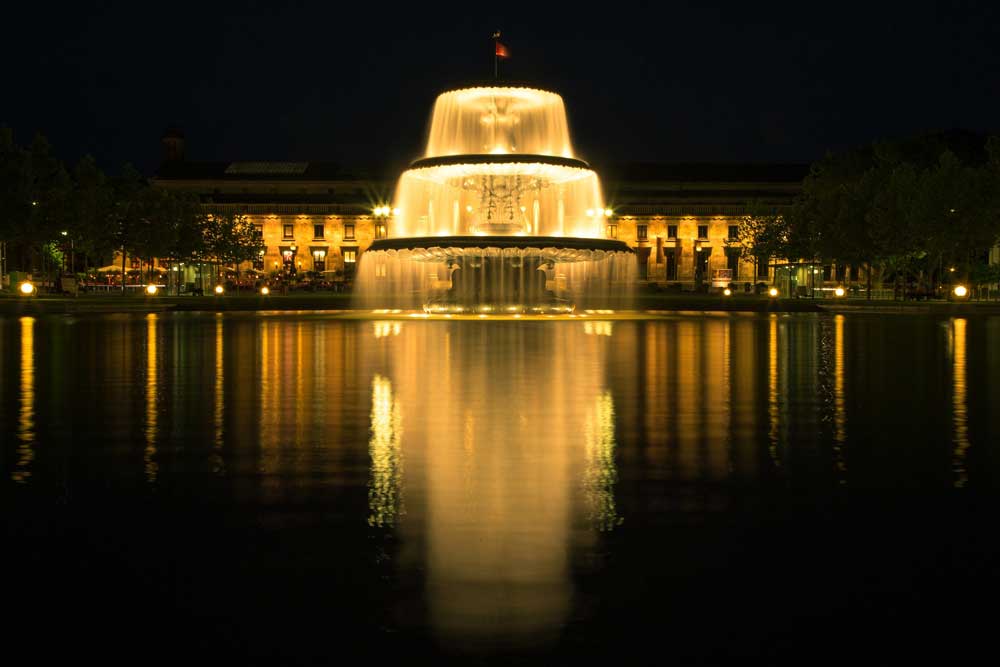
Fountains are my favorite subjects for photographing at night. At night, they are lit with different colors. So, it adds additional interest to me.
Bridges
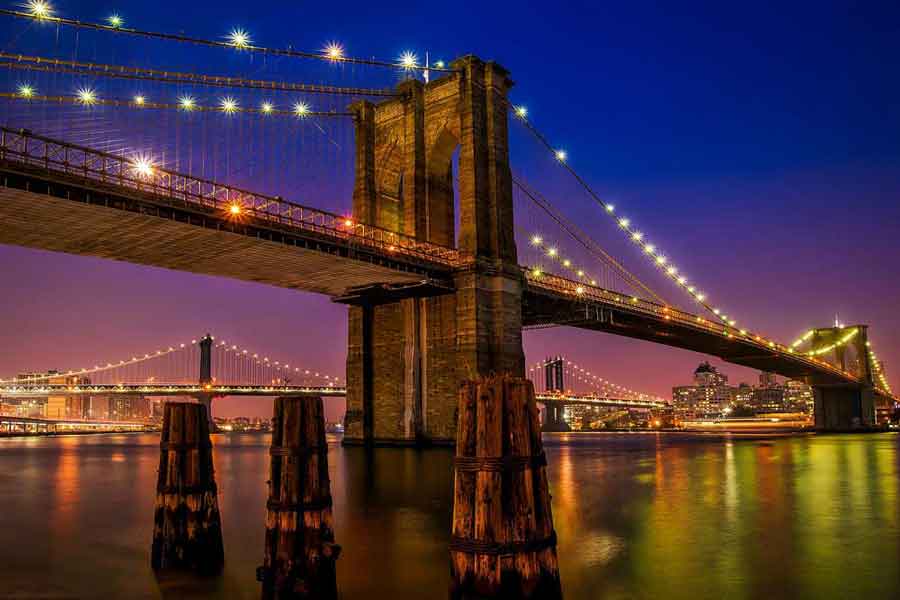
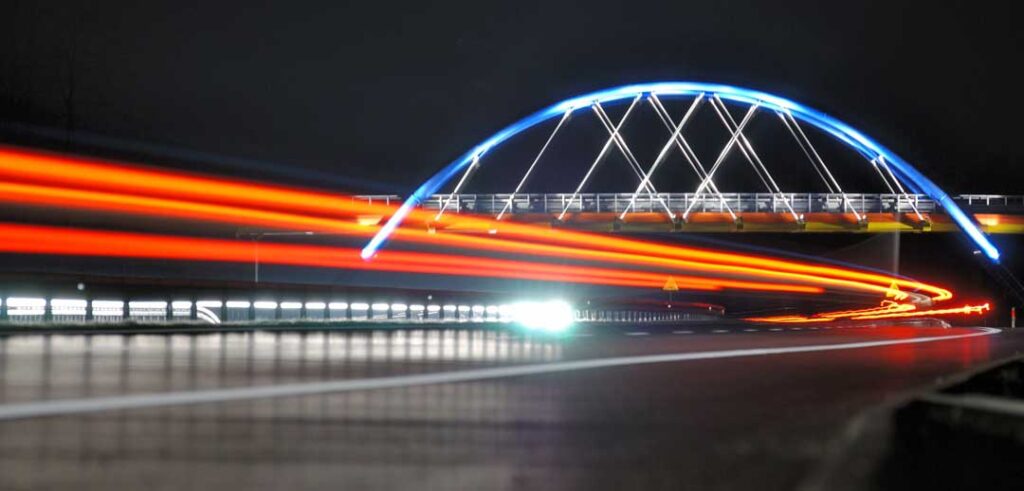
There are many bridges in the city, and they are also lit with different colors at night. So, you can choose the bridges as a subject for your night photography. You will have an advantage by photographing the bridges as the water under the bridge can be a blur. Plus, the traffic on the bridge will appear as streaking lights.
Streetlights
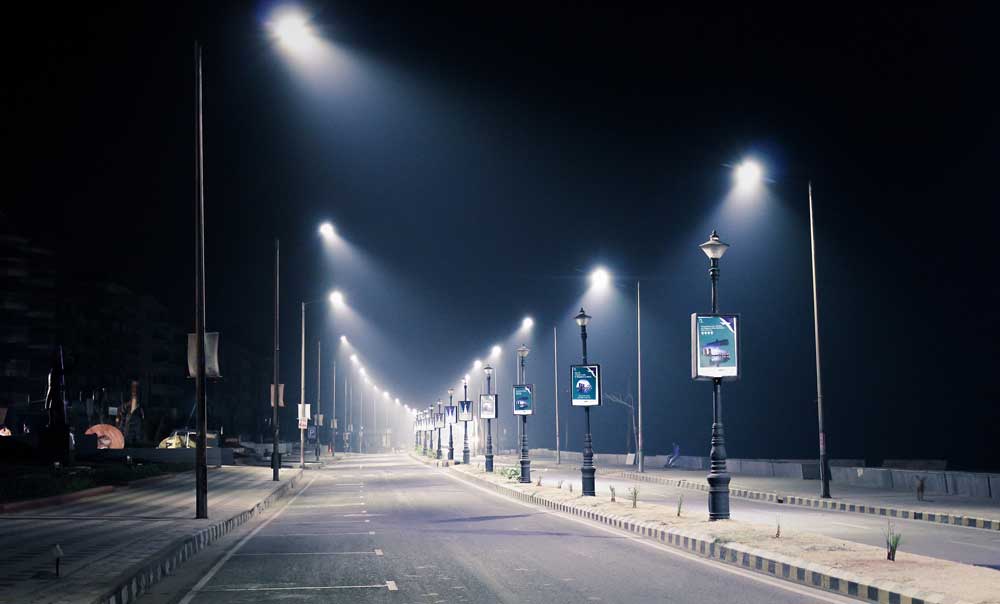
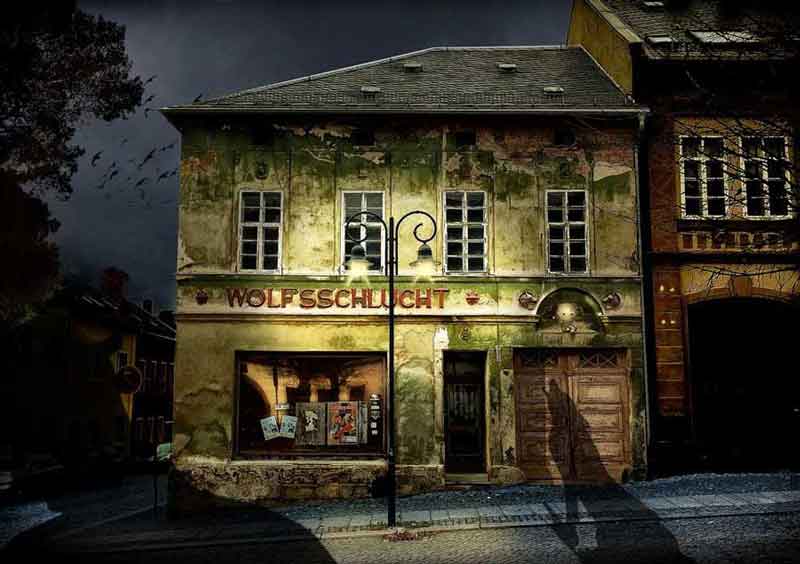
You can make a masterpiece by photographing the streetlights at night. Streetlights can be the right subject in a lot of different contexts. You can also create a nice leading line into your picture if there are multiple lights.
Car Light Trails
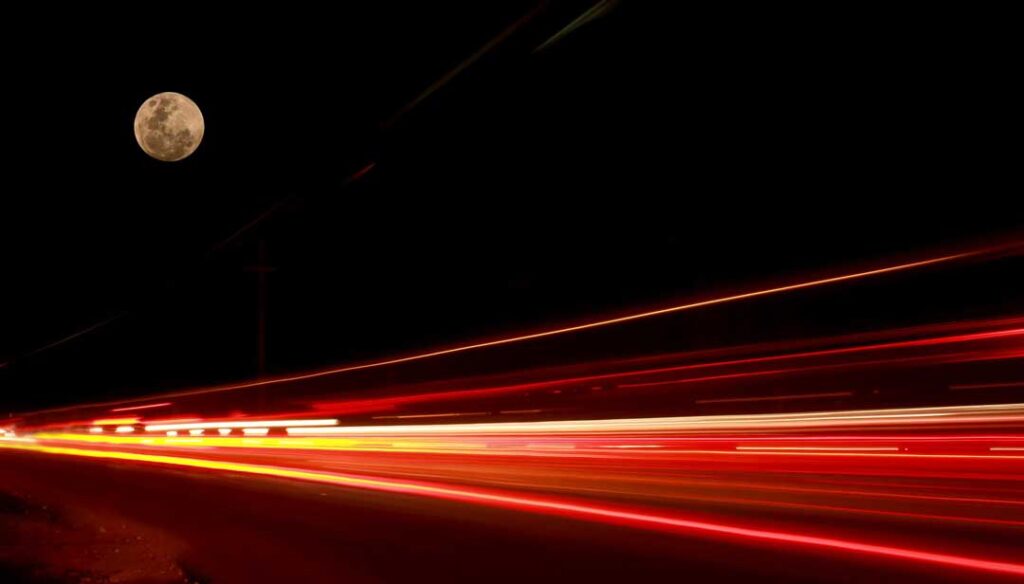
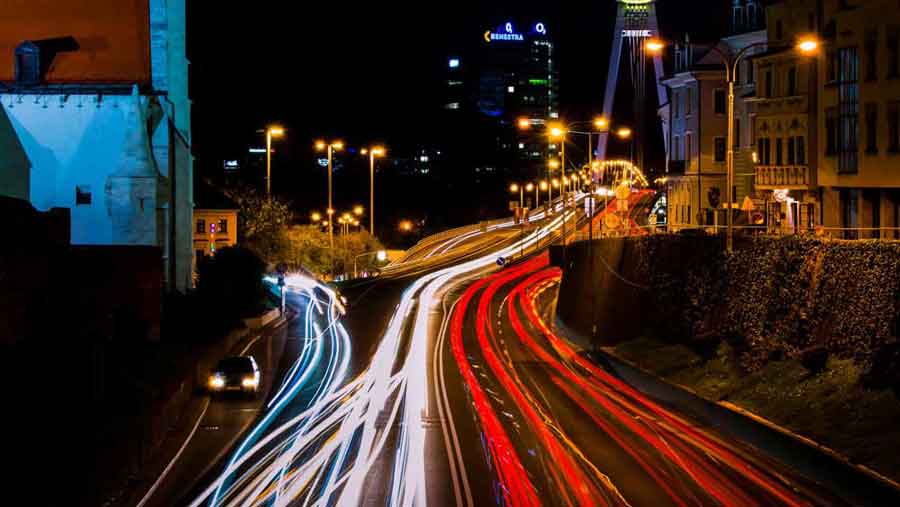
The source of getting the streaking light trails is moving cars. Try to time your photos, and the vehicles move across the frame. Don’t forget to open the shutter.
Reflections
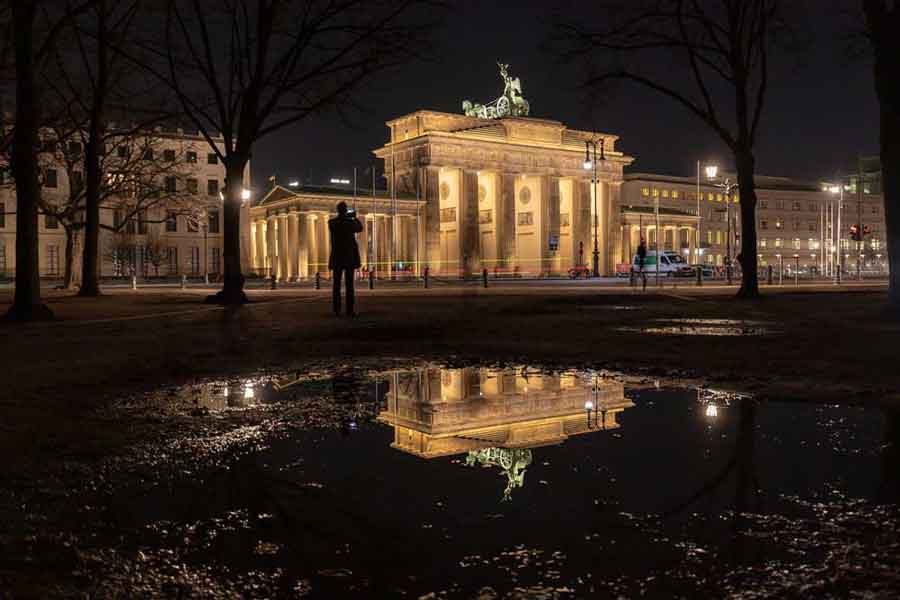
You will have the benefit of the longer shutter speeds if you will take reflections at night photography. This will work on ponds and lakes. After the rain, it would be a great time for reflection night photography.
Focusing
The ultimate difficulty you will face in night photography is focusing. It is very tricky to focus your camera. Most of the cameras focus on detecting contrast. By following some steps, you can get your camera to correct focus.
First, focus on a bright light in the photo. You can use a streetlight for this. Then focus on the edge of the light, which will give you the necessary contrast. But remember that you are focusing on the same distance as you focused on the final picture. After setting the focus correctly, press the shutter button to take the picture.
Processing Your Night Photos
Your first consideration should be handling the highlights. In night photography, you are dealing with some dark areas with some bright areas.
Nowadays, most RAW editors can bring back the highlights a bit. So, you don’t need to use high dynamic range software.
Shadows and Blacks
Now deal with the dark areas of your photo. You may want to brighten some parts in your photo. In the meantime, you should allow the darkest parts of the photo to go pure black. Pull up on the Shadows slider, then pull down on the Blacks one. Brighter areas will benefit from the increase in the Shadow. Also, maintain contrast by pushing down the Blacks.
Sharpening
Sharpen your night photos, mainly dealing with the digital noise in the photos. If the picture is noisy, then give it a global noise reduction. In Lightroom, you will find a Noise Reduction option. From there, pull up on the Luminance slider to the right.
Apply a local adjustment if you need to reduce noise in specific sections of the photo.
If you have a serious noise and can’t fix it, then use additional plug-ins.
Conclusion
If you want to get fascinating and magical pictures, night photography is the only option. Once you understand the basics behind night photography, it will be fun to experiment with it. After understanding the exposure settings, you can play with different combinations. Pick up your subjects, use different lights, and explore new compositions. Let us know if you have any queries about night photography.
Around 30 to 60 seconds shutter speed is great. If it’s very dark, then a longer shutter speed will give enough time to let a lot of light to enter the camera.
If you’re using a tripod, then keep your ISO low. Besides, you can use slower shutter speeds and wider apertures. Usually, ISO 400 or 800 is great for night photography.

