Liquify Tool Photoshop is one of the most important filters in Adobe Photoshop. As a photo editor, you must know various ways of photo retouching and manipulation. The Liquify tool Photoshop will allow you to do that without losing quality. It also allows us to alter many things in the photo, which includes face and body shaping.
Today we are going to experience this mind-blowing Photoshop tool for photo manipulation. In this guide, we will show you how to work with the various features of the Liquify tool Photoshop.
Opening Liquify Tool Photoshop
If you want to use artistic effects in photo manipulation, then you can use this filter in Photoshop. It is the Liquify filter which can be used for various photo manipulation and retouching. With this filter, you can rotate, pull, pucker, push, bloat and reflect your images. So, to use this filter, first open the image in Photoshop then go to filter menu and choose Liquify. Before that, don’t forget to duplicate the background layer. It will be safe if you convert the new layer into a smart filter.
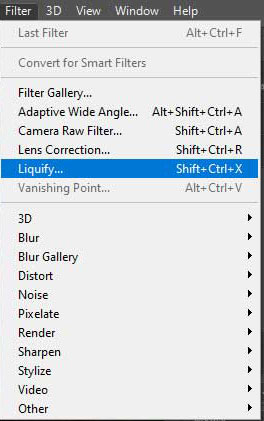
Before choosing the Liquify filter, you must select the layer. You can also use the short cut Shift+Ctrl+X to open Liquify tool Photoshop. Then the filter will open in a separate window containing various tools and features.
Tools in Liquify Filter
Before applying the Liquify filter into the image, let’s learn about the tools.
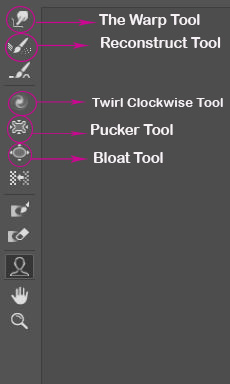
Forward Warp Tool
Forward Warp tool is one of the first tools Liquify filter. It allows you to push the image pixels onwards when dragging. When using the warp tool, you need to fix the brush size for control the pixels. You will find the Brush Options on the right side of the Liquify panel.
Reconstruct Tool
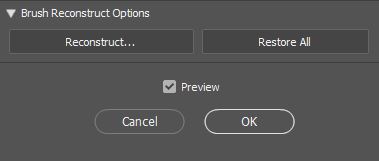
The next tool is the Reconstruct Tool. You can remove any distortion you apply to the photo with it. You can use the feature by clicking on Restore All button from the Options.
Twirl Clockwise Tool
It rotates the pixels clockwise. You can drag and fix your images with the Twirl Clockwise tool. To use this tool anti-clockwise, press Alt+Down and drag on the image.
Pucker Tool
Puker Tool transfers the pixels in the centre of the brush area. If you want to move the photo pixels on the part of the centre, use the Pucker tool.
Bloat Tool
The Bloat tool comes in handy when you are applying Liquify tool Photoshop on your wedding images. With this tool, you can cut unwanted pixels from the brush area. To use this tool, you need to drag onto the picture to move the pixels.
Push Left Tool
You will find the final tool in the Liquify tool Photoshop dialogue box. With the Push Left button, you can transfer pixels to the left or right. It works based on your activity. If you move up and down, the pixels will shift to the left.
How to Distort the Image with Liquify Tool Photoshop?
Now we will use this Liquify tools and other options to distort the image that we opened before. We will change, distort, or exaggerate the image. Then it will look different from the original one. Follow the steps to see the whole process.
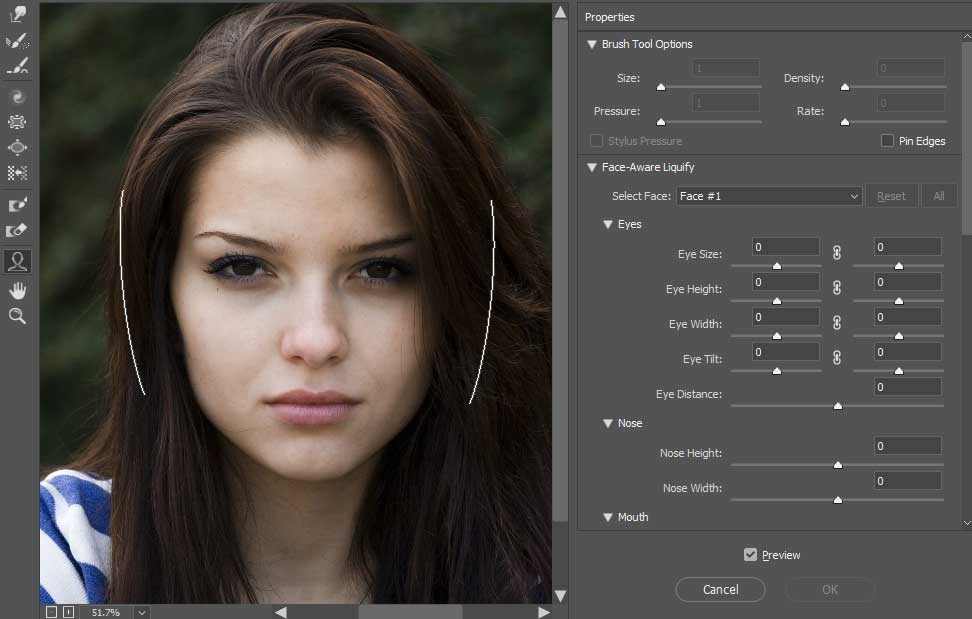
To fix the girl’s face, we will use Face tool and Face-Aware Liquify options.
Using Face-Aware Liquify
After opening the image with the Liquify tool Photoshop, select the face tool. You will see the options on the right side of the panel. You can adjust the face with the sliding bars, or you can use the on-screen handles to fix the image. Now look at the options panel and make the adjustments to fix the image.
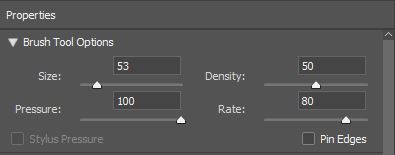
Brush tool Options
Here, you can adjust the brushes for different tools. If you use the warp tool, reconstruct, pucker, etc., then you may need to adjust your brush sizes.
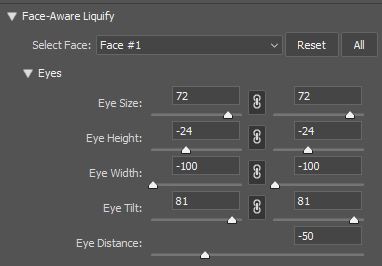
Eye Adjusting
From the adjustment panel, you can adjust eye size, height, and width. You can resize the eye angel with the eye tilt option. You can also change the eye position with the eye distance option. Don’t forget to link between the eyes, if you want the same changes in both eyes.
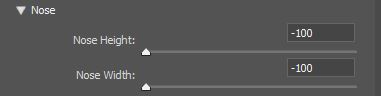
Nose Adjusting
If the nose of the image is thick, then you can make it thinner and attractive. You can also change the height of the nose from this option.
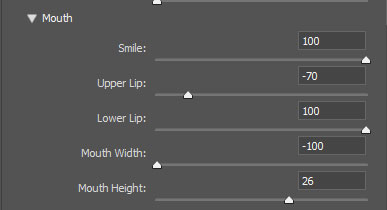
Mouth Adjusting
If the person in the image seems to be sad, then you can put a smile by increasing the smile ratio. You can also adjust the upper and lower lip. Try readjust the mouth width and height for a more appealing look.
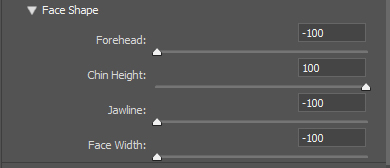
Face Shaping
From here, you can adjust the size of forehead, Chin height, jawline and face width.
After adjusting all the options, you can press Alt and click on the default button to undo all. You can also restore all settings from the brush reconstruct options. Unmark the preview to see the changes before and after.
When you are satisfied with the adjustments you made, click ok and see the final result. We fix the photo that we choose to for this process. See the result below.

Conclusion:
There are many other options in the Liquify tool Photoshop. If you practice with them properly, then you will be a pro at image manipulation. But this tool is very useful for portrait photo editing. You can do a lot more than just changing face and body with the Liquify Tool Photoshop.
Photo manipulation means changing the whole image with various Photoshop techniques. It involves distorting or modifying a photo to achieve different results.
Photo Manipulation can interfere with copyright infringement. If you do photo manipulation to perform an evil intension, then, of course, it’s illegal.