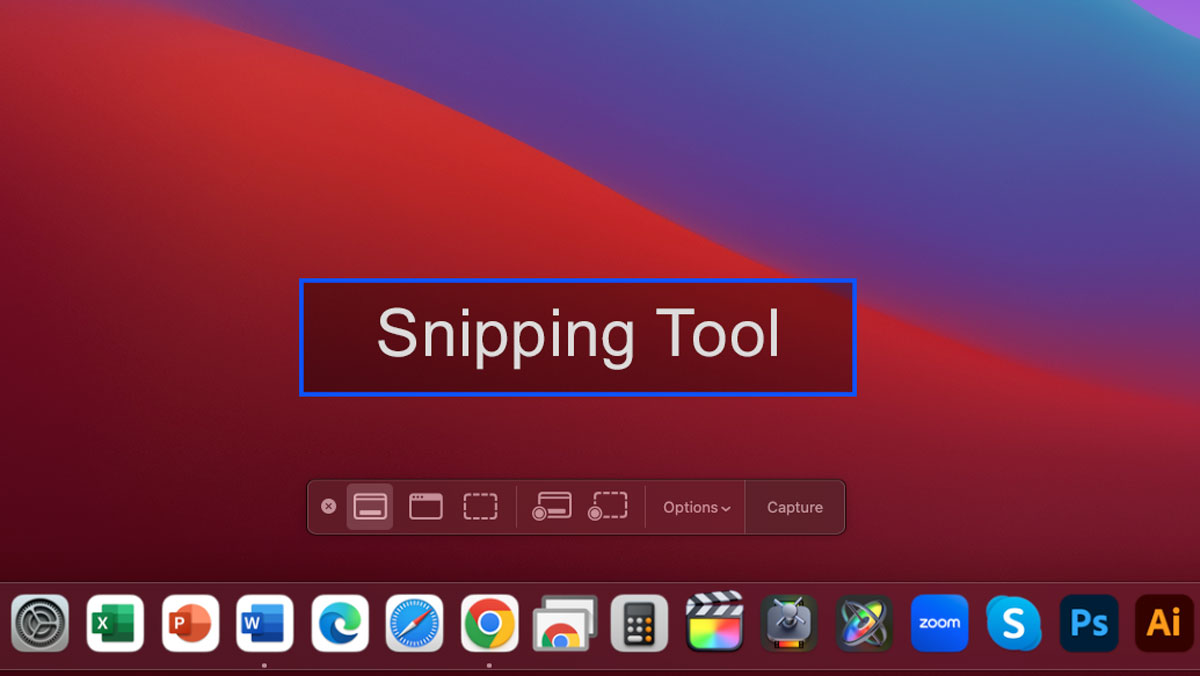
In today’s digital world, capturing and sharing screenshots has become an essential aspect of communication. Both Windows and Mac operating systems offer powerful built-in snipping tools that allow you to take screenshots and customize them according to your preferences. Whether you’re a Windows enthusiast or a devoted Mac user, this comprehensive guide will walk you through using snipping tools effectively.
Using Snipping Tool on Windows:
The Windows Operating System features a versatile snipping tool that facilitates easy screenshot capturing and editing. Follow these steps to master the art of using the Snipping Tool on Windows:
Accessing the Snipping Tool:
- Navigate to the “Start” menu and search “Snipping Tool.”
- Click on the application to launch it.
Taking Screenshots:
- Upon opening the Snipping Tool, click on “New” to initiate the screenshot process.
- Choose from various snip styles like Free-form, Rectangular, Window, or Full-screen.
- Click and drag the cursor to select the area you want to capture.
- Release the mouse button to take the screenshot.
Editing and Enhancing:
- Once the screenshot is captured, the Snipping Tool’s editor will open.
- Use the editing tools to highlight, annotate, or crop the screenshot as desired.
- Click on the “File” menu to save the edited screenshot in your preferred format.
For more details, visit Microsoft’s official website.
Using Snipping Tool on Mac:
Mac users can also enjoy seamless screenshot-taking capabilities with simple shortcuts. Discover how to utilize the Snipping Tool on Mac through the following steps:
Capturing Screenshots:
- Press Command + Shift + 3 to capture a screenshot of your entire screen.
- Use Command + Shift + 4 to activate the crosshair cursor for selecting a specific screen area.
- To capture a specific window, press Command + Shift + 4 + Space and click on the desired window.
Accessing Screenshots:
- All screenshots taken using these shortcuts will be saved to your desktop by default.
- To save screenshots to your clipboard, press the Control key in addition to the shortcut.
Further Assistance:
- For more detailed guidance and additional information, refer to the official documentation on how to take a screenshot on your Mac.
Mastering snipping tools on Windows and Mac operating systems empowers you to capture, edit, and share screenshots for various purposes. Whether you’re documenting important information, collaborating on projects, or troubleshooting technical issues, these snipping tools are your go-to solution. Embrace the power of technology by integrating snipping tools into your daily workflow and communication strategies.


