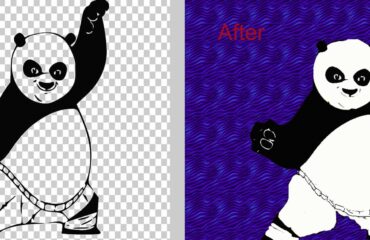
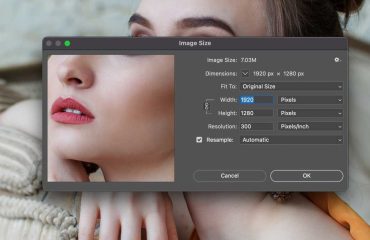
The feather option in Photoshop gives us a great advantage for the softening image’s edge. Feathering is also called blurred edges. Usually, we use feathering for various purposes. When we want to isolate a particular part of an image, we need feathering. We also need this great feature to make an artistic portrait or highlight a specific area.
Today we will show you how to feather in Photoshop step by step. In this tutorial, we will show you how to do eye replacement using Feather in Photoshop. You will also learn how to use feathering for making different photo composition. So, read the full tutorial for learning how to feather in Photoshop.
Using Feather for Smooth Eye Replacement
In this section of this tutorial, we are using a photo in which one eye is closed. We will copy the opened eye and place it on the closed one. We will use Photoshop feathering to do that. Let’s start the tutorial about how to feather in Photoshop.
Step 1
First, open the image using Photoshop and create a new layer. Select the lasso tool from the toolbar. You can use any selection tool, but in this case, we will use the lasso tool for the perfect selection of the eye.
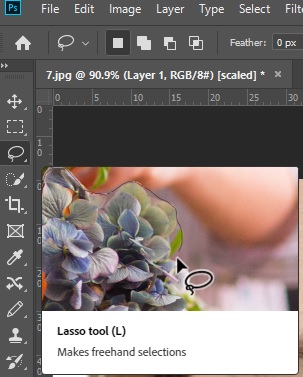
Step 2
After selecting the lasso tool, now draw a selection around the eye that is open. Be careful when drawing around the eye. Don’t pick a large area; only draw that is enough for your requirements.
Step 3
Now right click on the selection. Then choose Feather from the option.
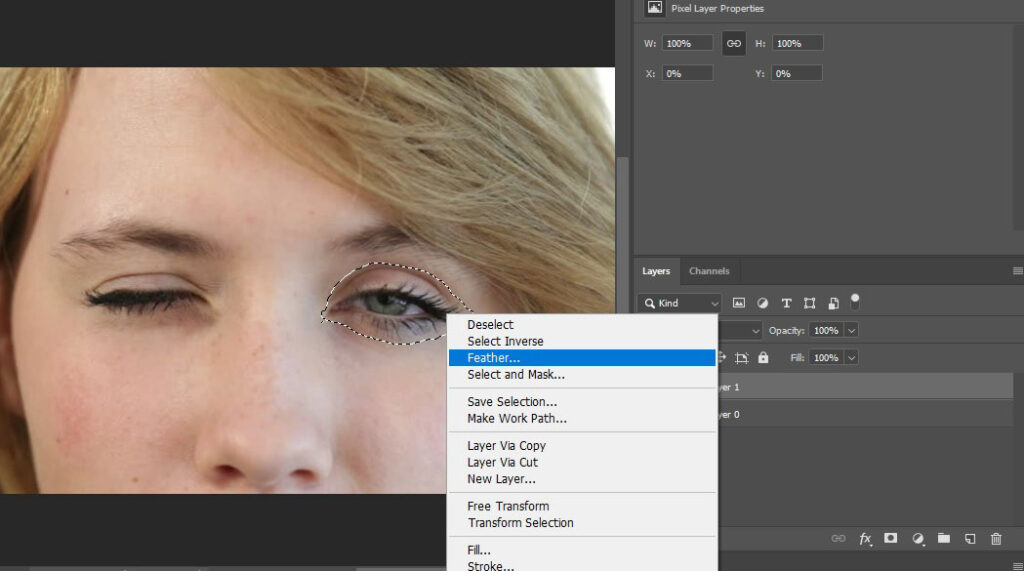
After the click, you will see a pop-up window for selecting a feather radius. The feather radius depends on the pixels and the resolution of your image. But it is better to keep the radius 3-5 pixels. In this image, we will use the feather radius of 5 pixels.
Step 4
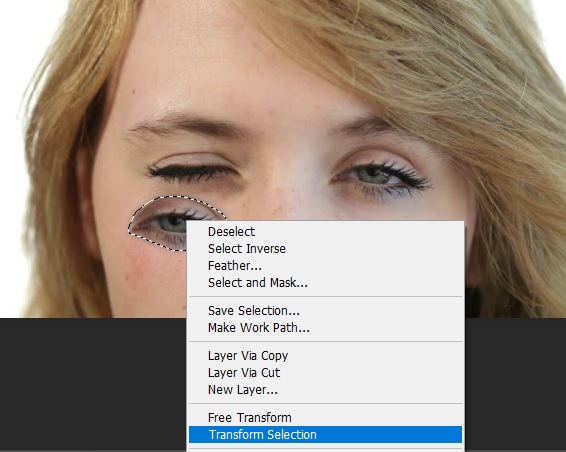
Now select the move tool, then press & hold the Alt key and drag the selection for making a copy. Then keep mouse point on the selection area. Now, right-click and choose the transform selection option. Learn more about deselect. Use the shortcut Ctrl+T for this.
Step 5
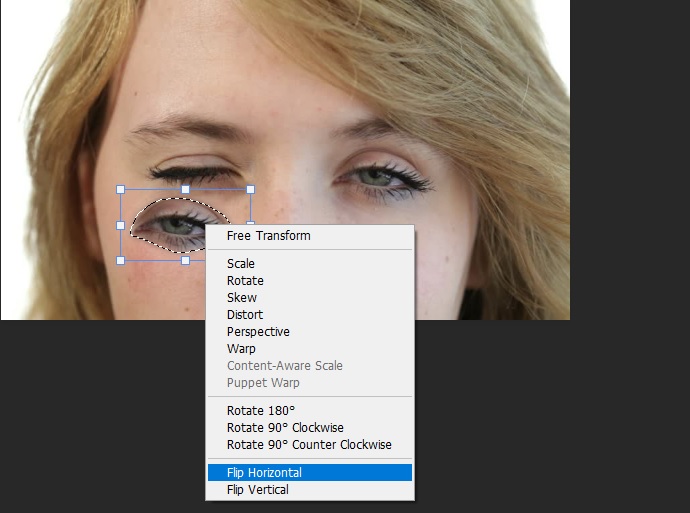
Again keep the cursor on the selection area then right-click. Now choose Flip Horizontal from the option. Now, the eye will change its direction. It works as a mirror effect.
Step 6
Now drag the eye and adjust with the closed one. Transform it to make a similar size with the opened eye. After doing all this, now we will see the result as below.
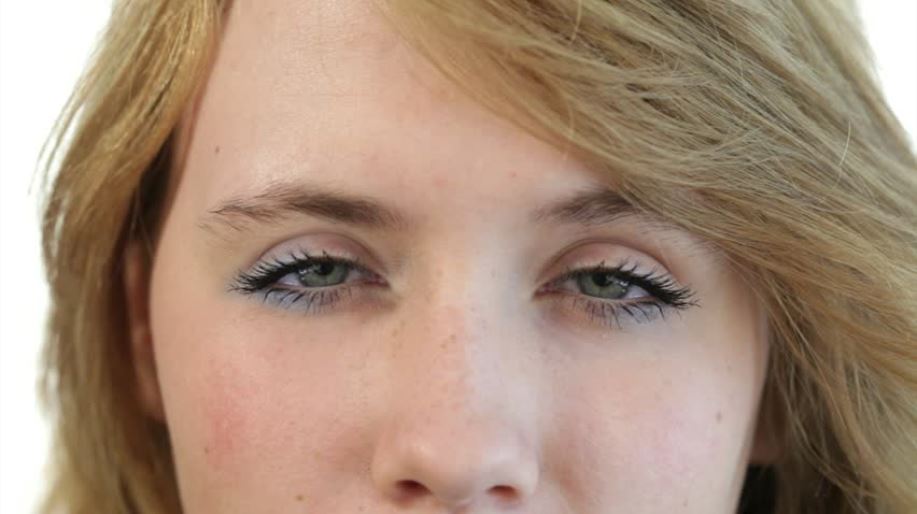
Now see how smooth and real it looks. If we have done it without Feather, we wouldn’t be able to make this smooth. You can practice more by following this How to feather in Photoshop tutorial.
Making Photo Effect with Feather
Now you are going to see another power of Feather. In this section of how to feather in Photoshop tutorial, we will use a colored background photo. But we will use feathering to isolate the background. Then we will have an excellent effect on this image.
Step 1
After opening the photo, choose a selection tool to select a specific area from the picture. We will use the elliptical marquee tool for a circular selection for the face.
Step 2
Now with the selection, press Ctrl+Altr+R to find the refine edge option. You can use the feather option by right-clicking on the selection area. But in the refine edge section, you will find many adjustment settings. Keep everything 0 accept Feather. Then slide the feather bar until you are satisfied with the pixels.
Step 3
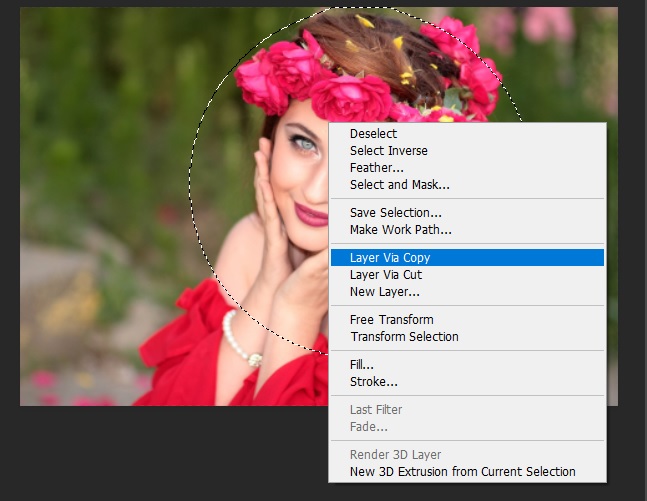
After adjusting Feather, right-click on the selection area. Now choose Layer Via Copy to copy the selection.
Step 4
Now, if you hide the background, you will see the selection area on a transparent background.
Step 5
Create a new layer from the layer Icon. By selecting the new layer, choose the background color. Here, we will use a white background. Now drag this layer and place it under the layer 1. Layer 1 is the selection area with a transparent background. Now we will see the result as below.

So, it’s the power of feathering in Photoshop. Besides these, you can create a lot more with the feather option. If you follow every step of this How to feather in Photoshop tutorial, you can do this easily. Have you any questions about how to feather in Photoshop? Please don’t hesitate to inform us.
Conclusion
Feathering selections is a powerful tool in Photoshop. If you are new and learning Photoshop, you will need this skill in the future. We hope this How to feather in Photoshop tutorial will be a great use to you. You can do many things with feather if you learn how to feather in Photoshop tutorial.
Select the layer which you want to blend with, then double-click on the layer thumbnail. Now choose Blending Options from the Layers panel menu. Adjust the blending options, then click OK.
Ctrl + J is the shortcut key for the New Layer Via Copy option. It allows us to duplicate an active layer into a new layer. But for the selection area, this command will only copy the selected area into the new layer.


